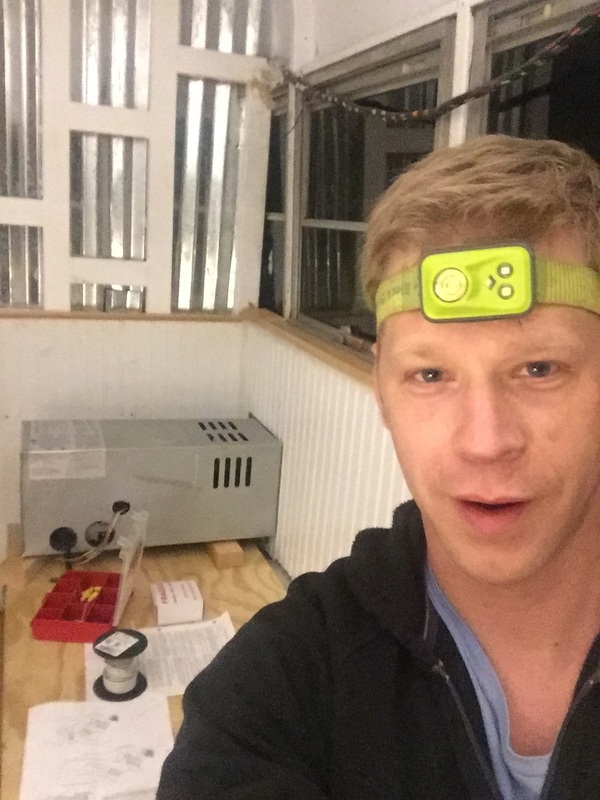
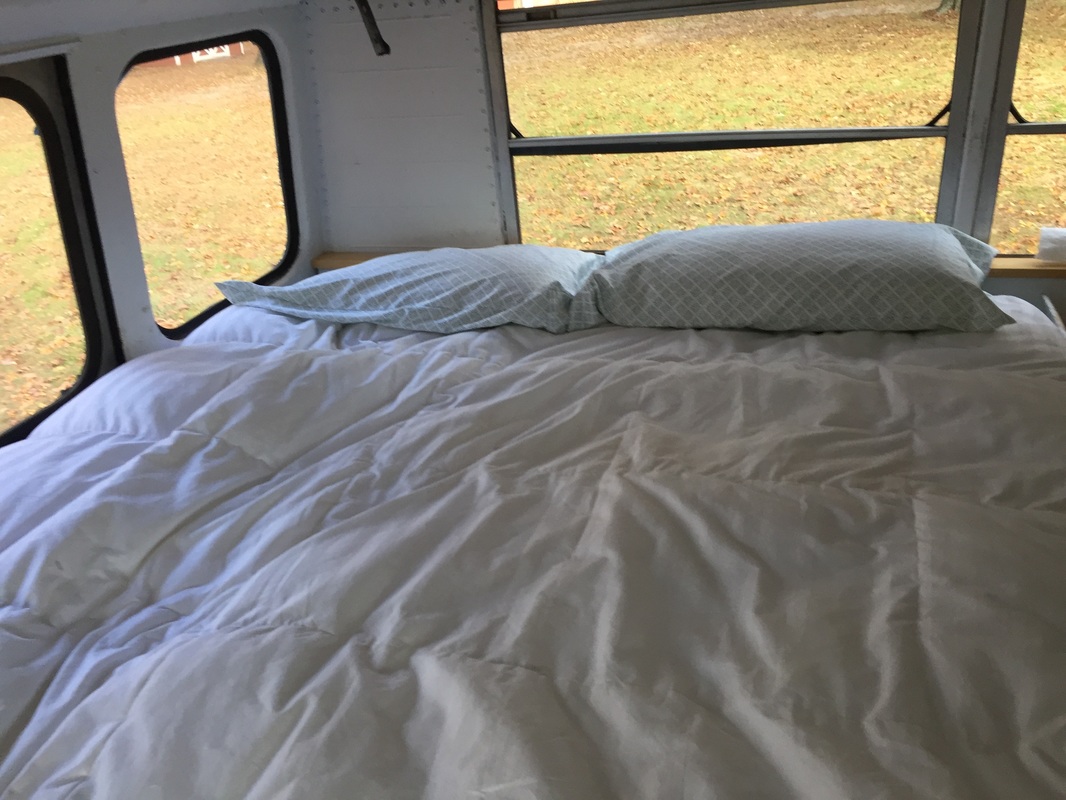
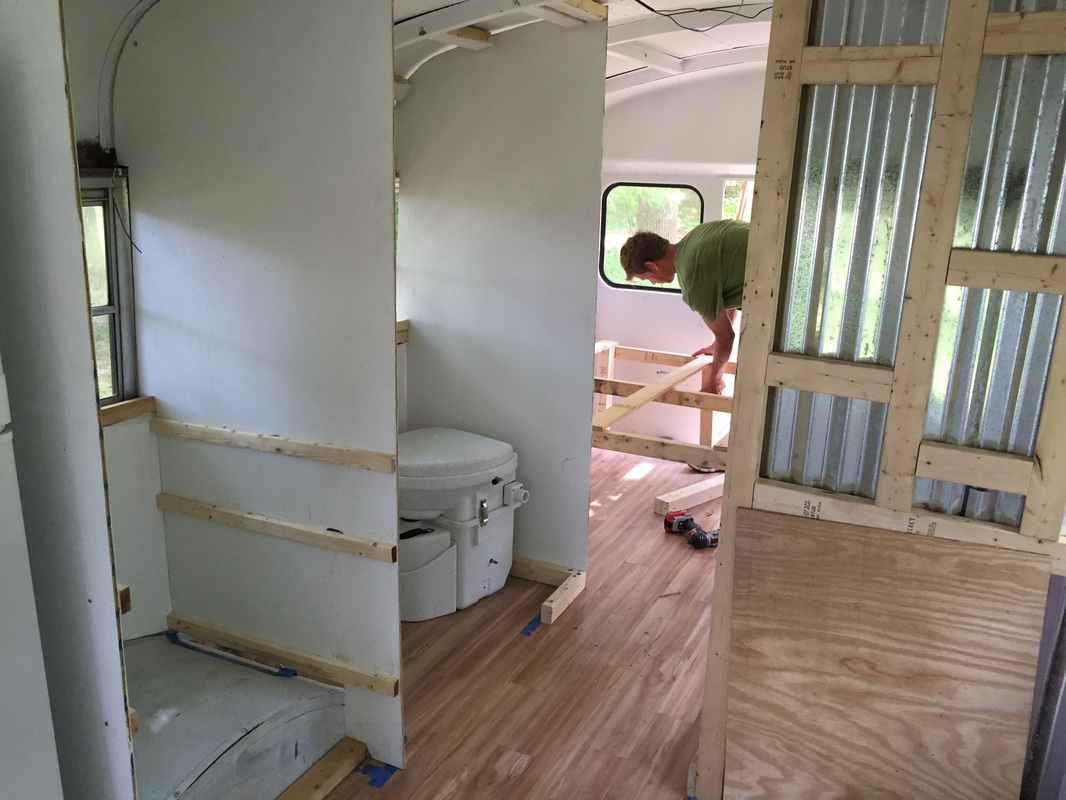
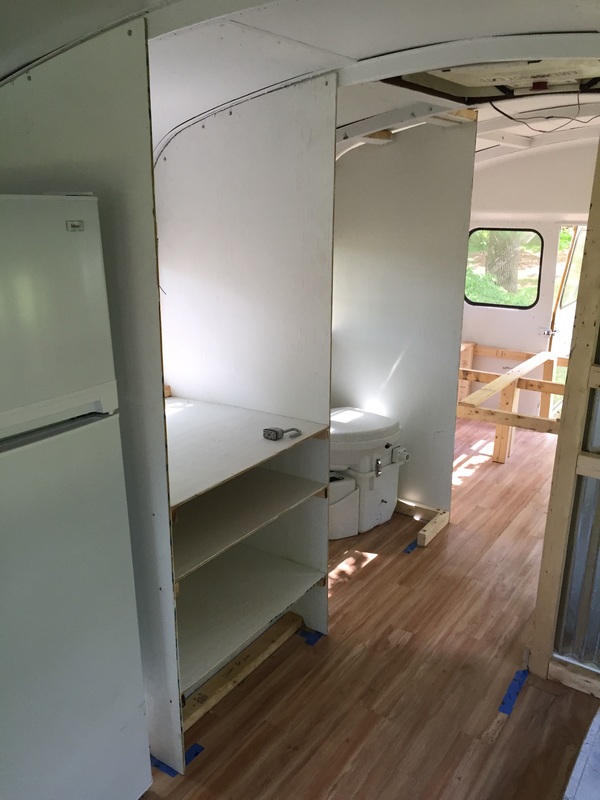
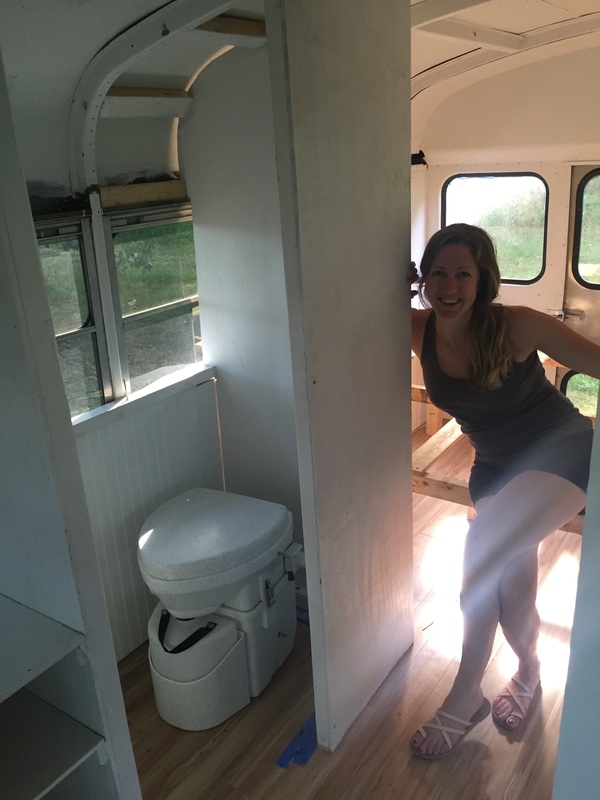
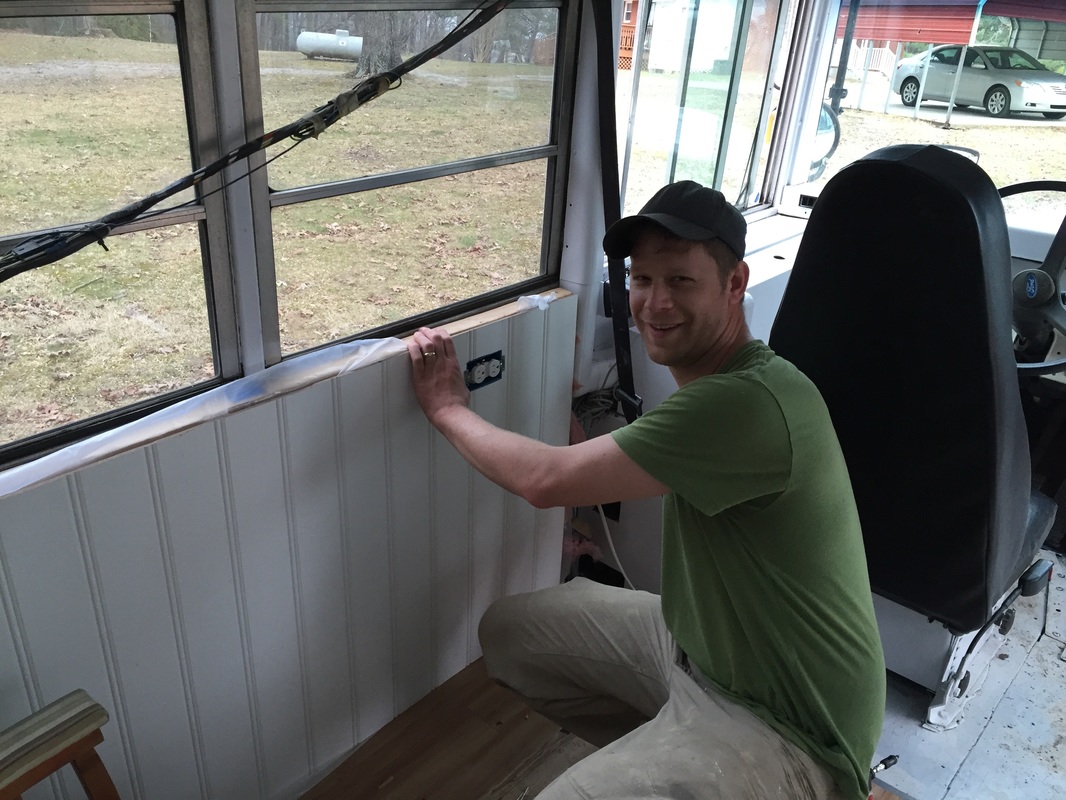
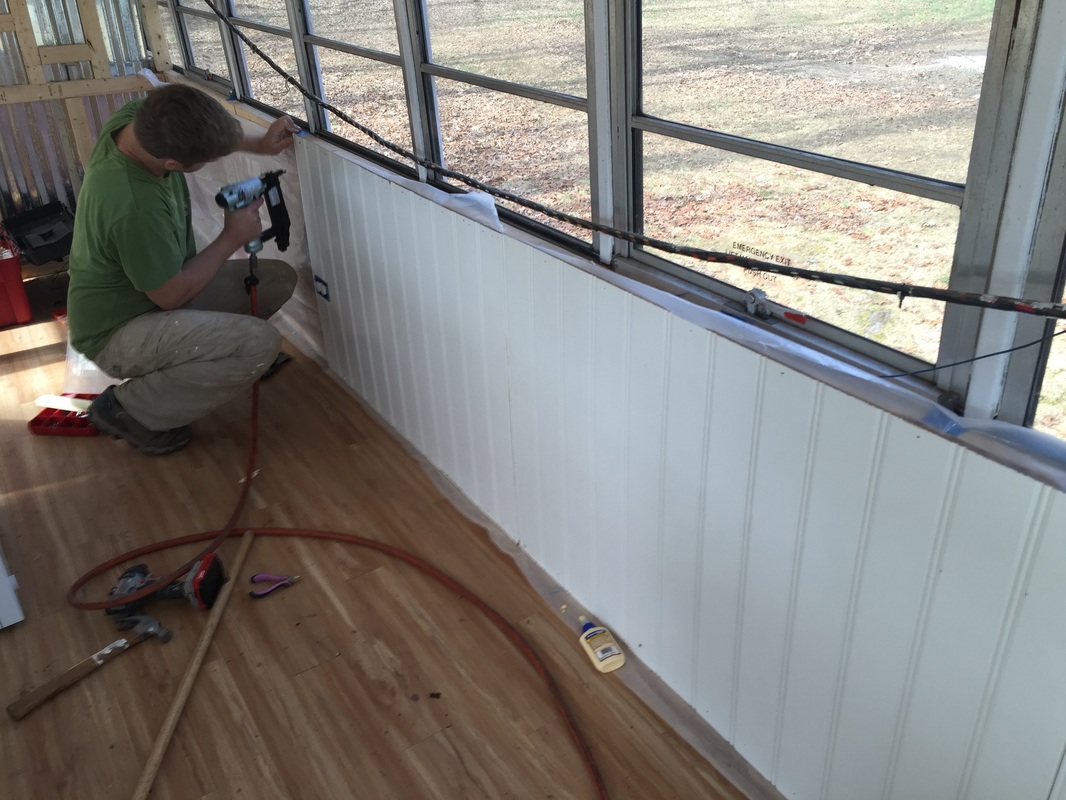
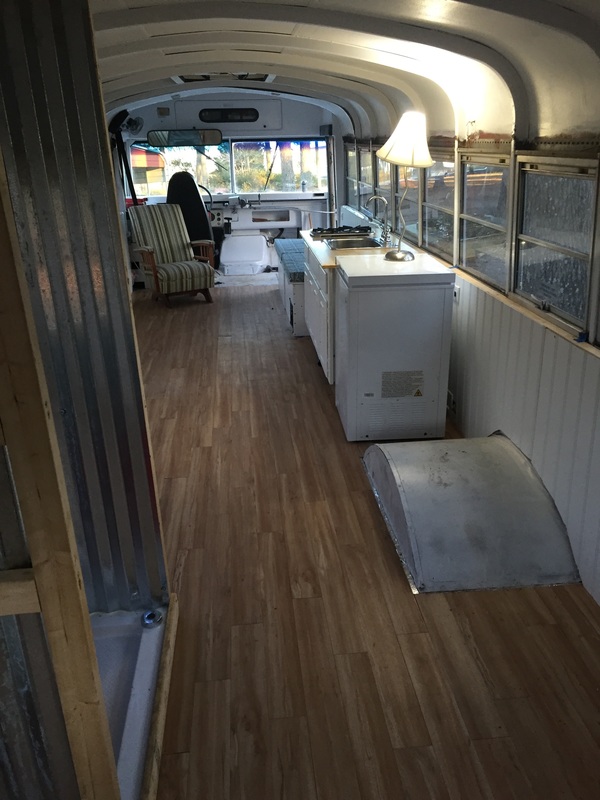
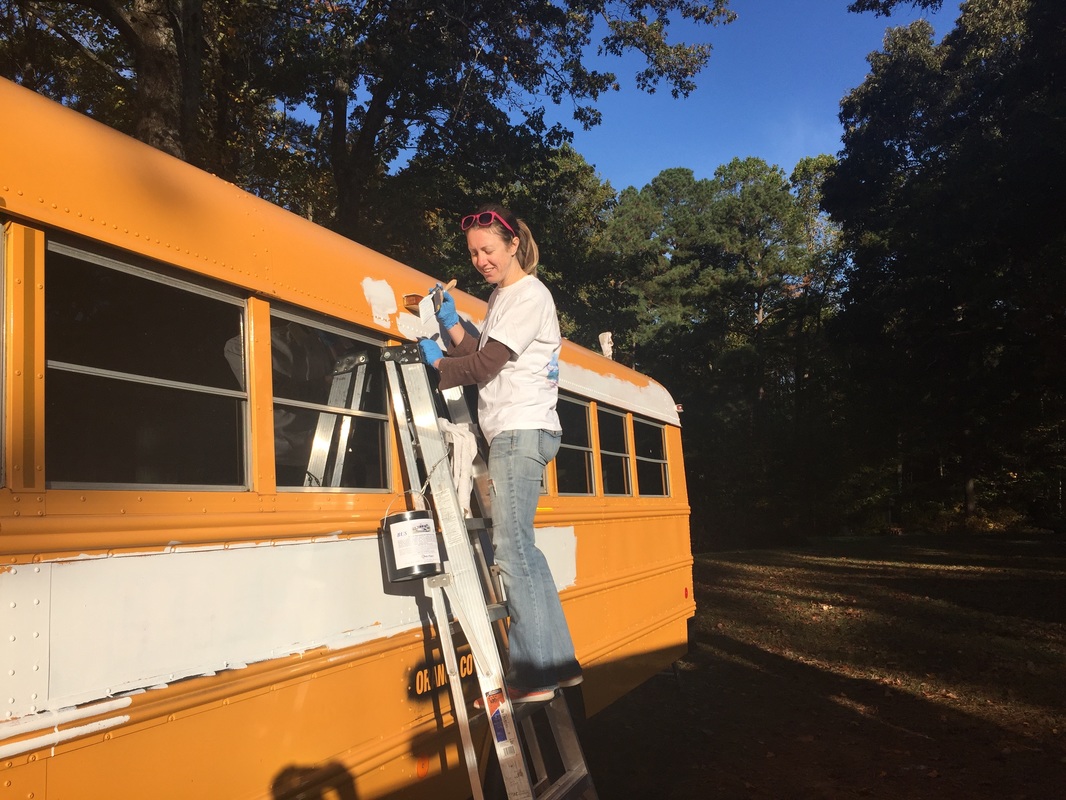
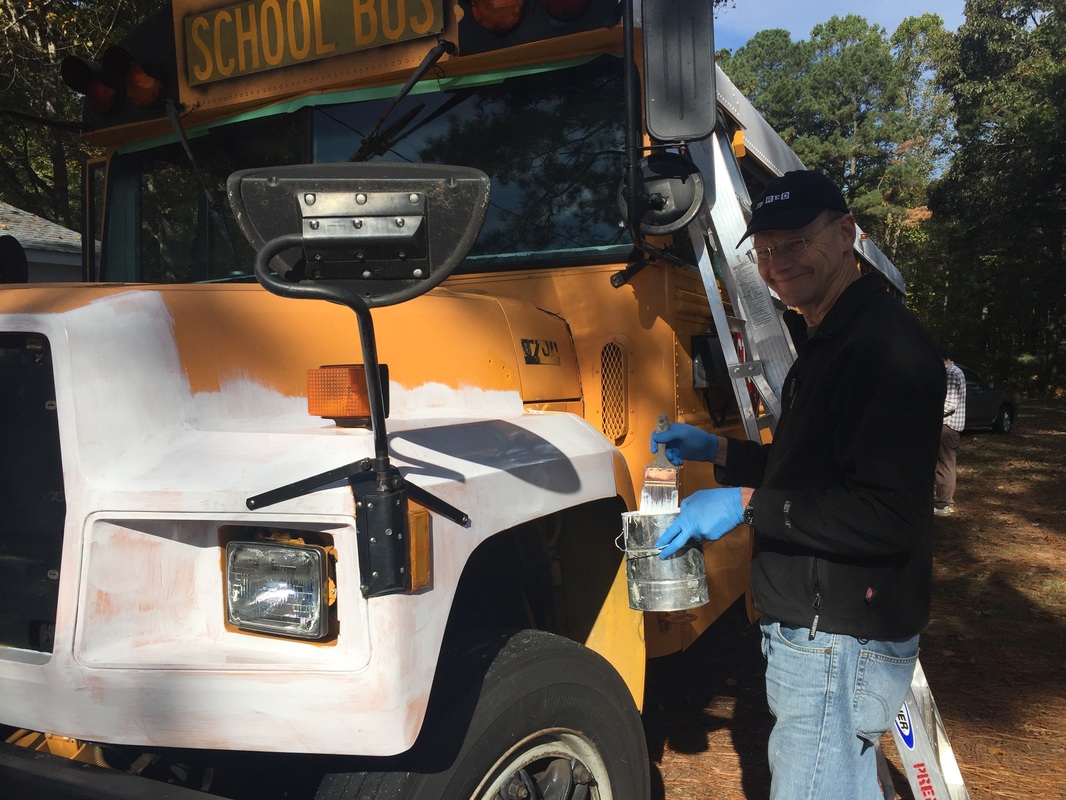
Once we discovered we were expecting, our arbitrary timeline suddenly became a mandate. We live in a small, two bedroom home, and I've been using one of those rooms as a home office for the past 2 years. Clearly I had to go. And so, the last few months have been dizzying as we've raced to finish the bus before our daughter makes her debut. When Courtney had her baby shower a few weeks ago, there was apparently a sense of horror that we haven't gotten the nursery ready yet. Well, fear not. Over the last week I was able to move into my new office, and our baby girl has her very own room in the big house. Before we know it we'll be stashing the office stuff and taking her out for a family camping adventure. Here's a look at what we've done:
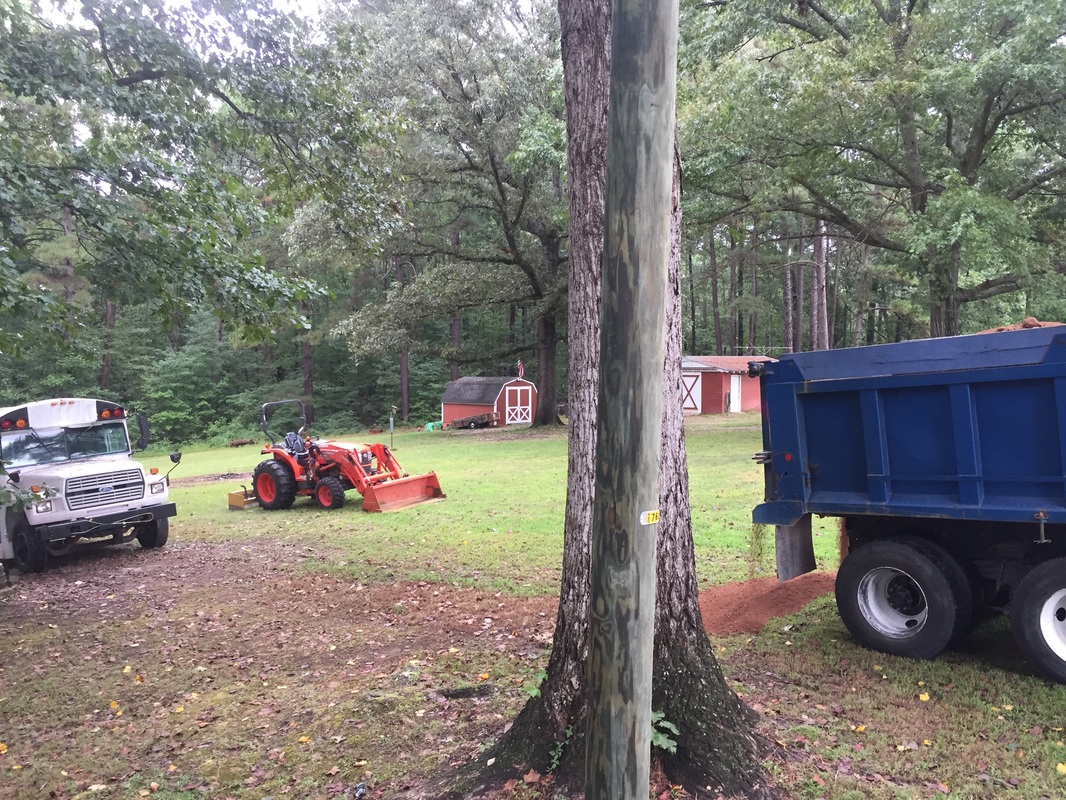
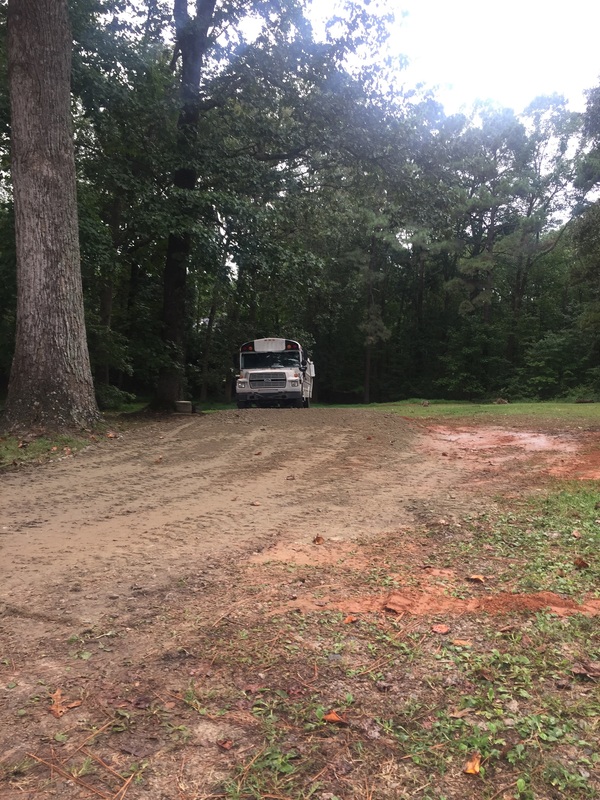
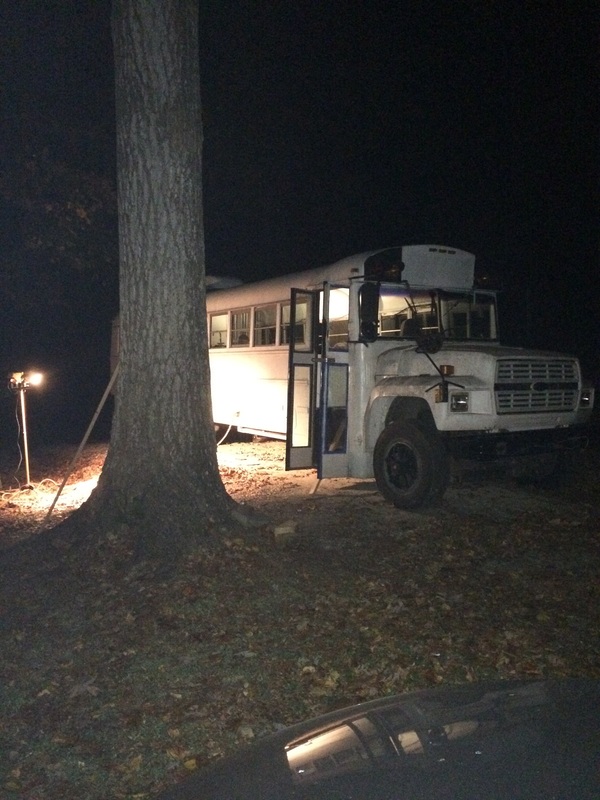
- Leveled the driveway. I initially thought I could do this with a wheelbarrow and shovel. In the end it took 15 tons of fill dirt, 8 tons crush-n-run gravel, and a tractor
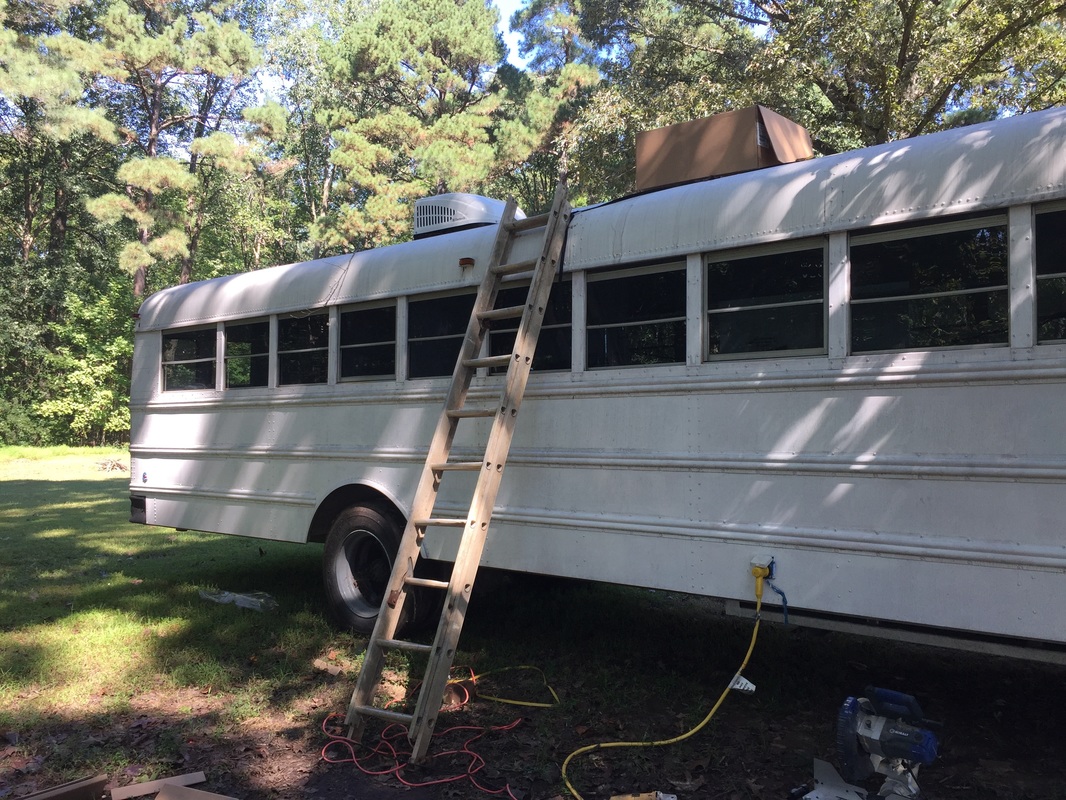
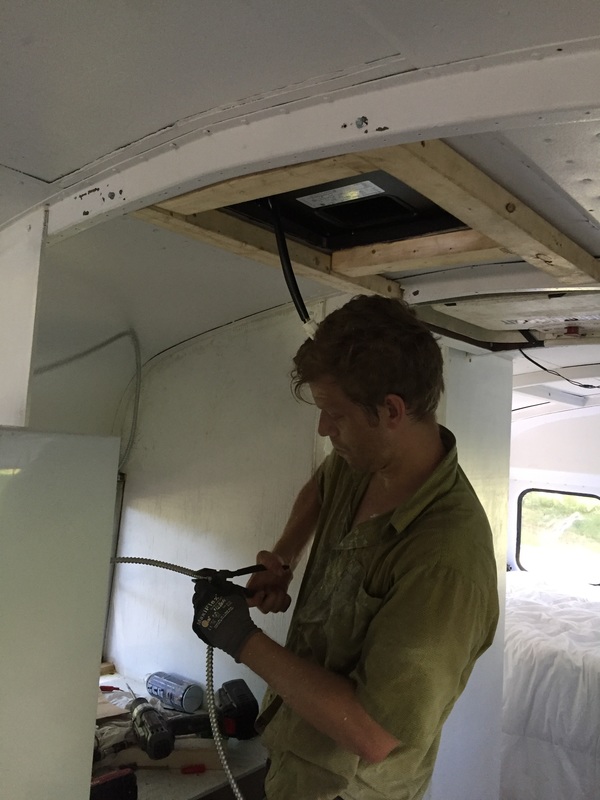
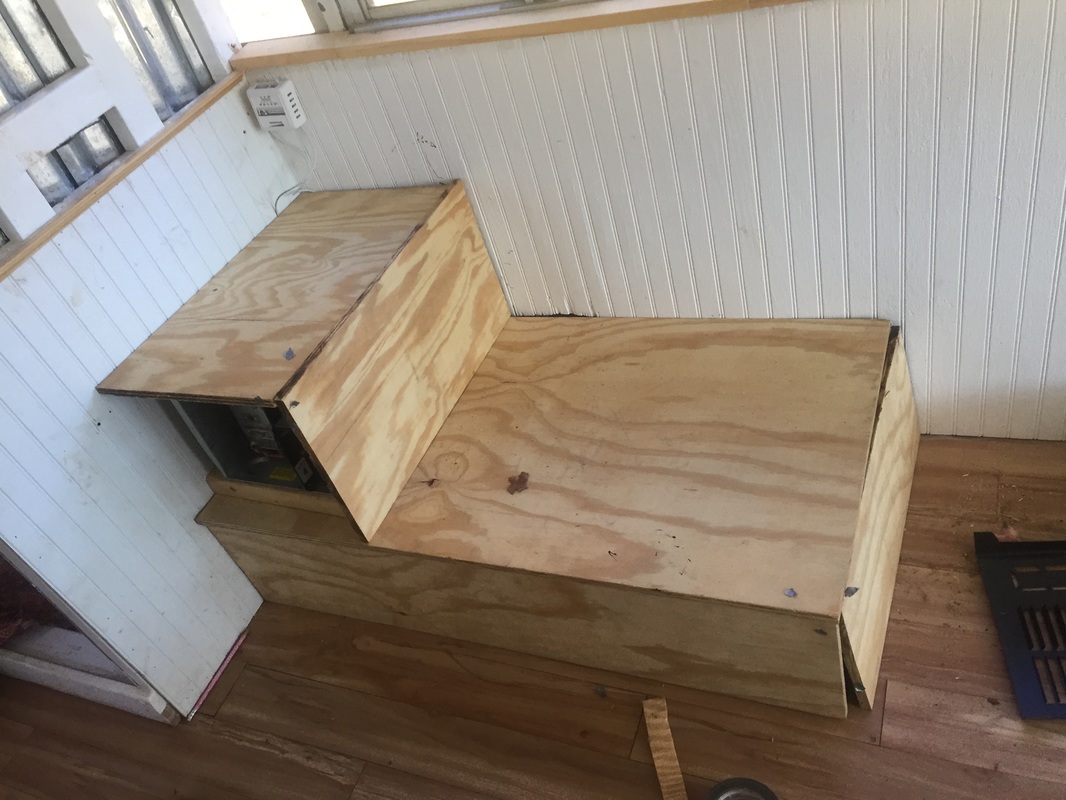
- Installed the 15k BTU air conditioner
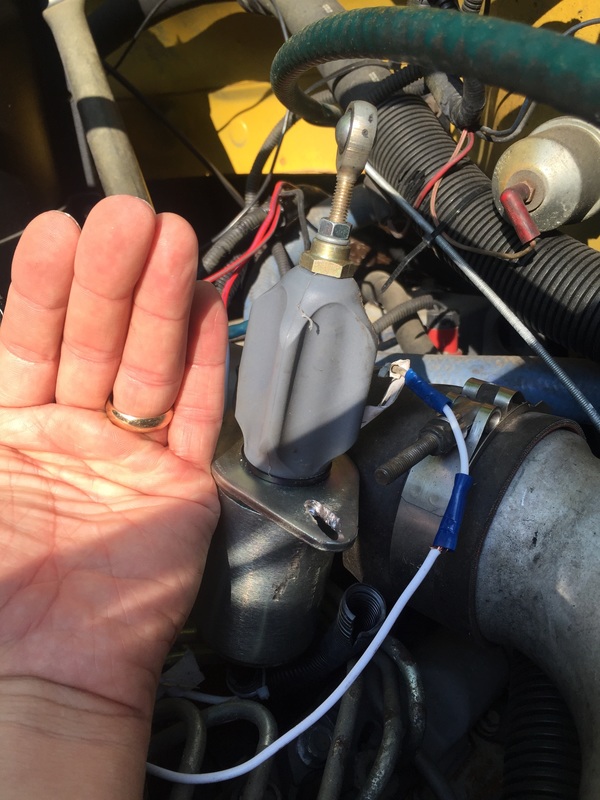
- Ran several miles copper propane lines
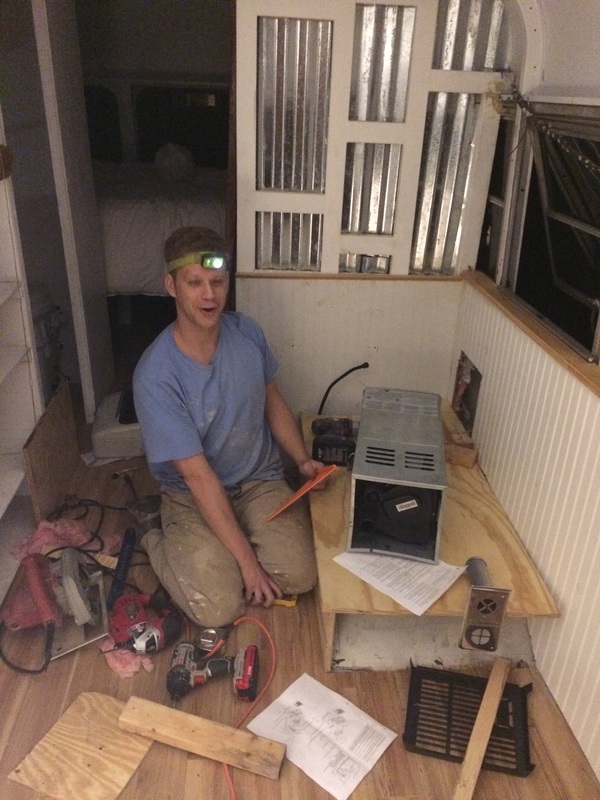
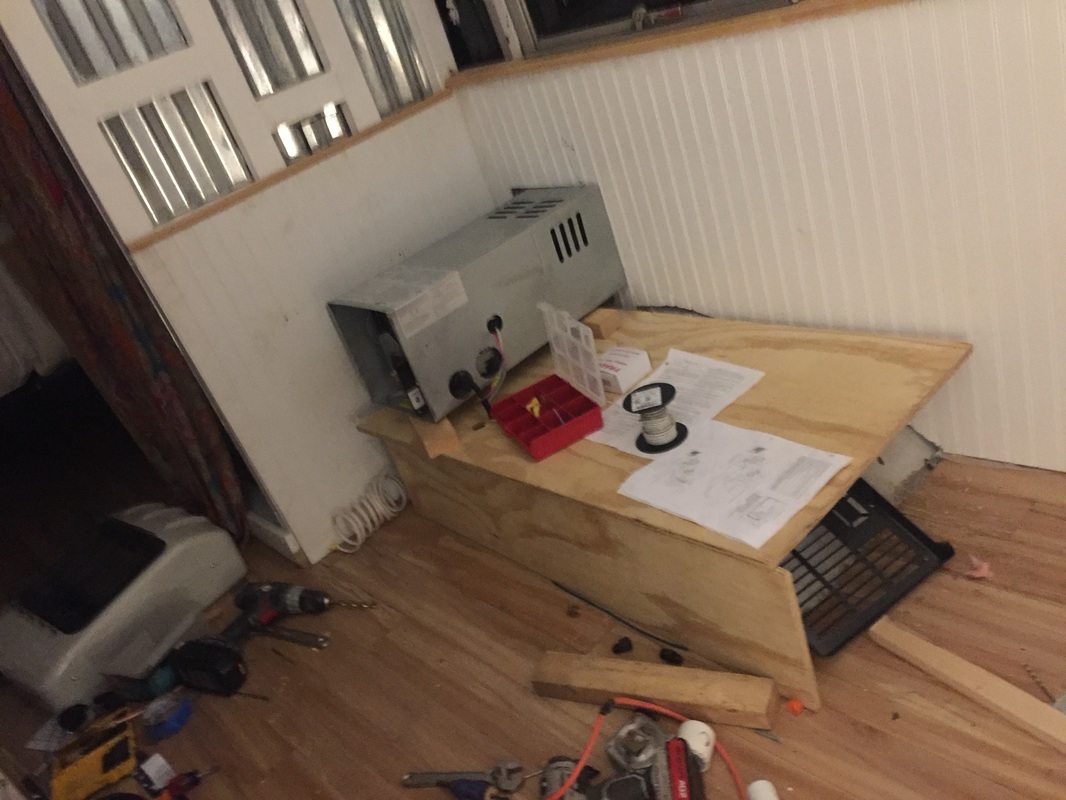
- Installed a 10k BTU blue flame monitor heater
- Uninstalled the aforementioned heater and replaced it with a 20k BTU vented unit. The propane man was kind enough to point out that a vented unit is required for sleeping. Who needs research when you can just do it right the second time?
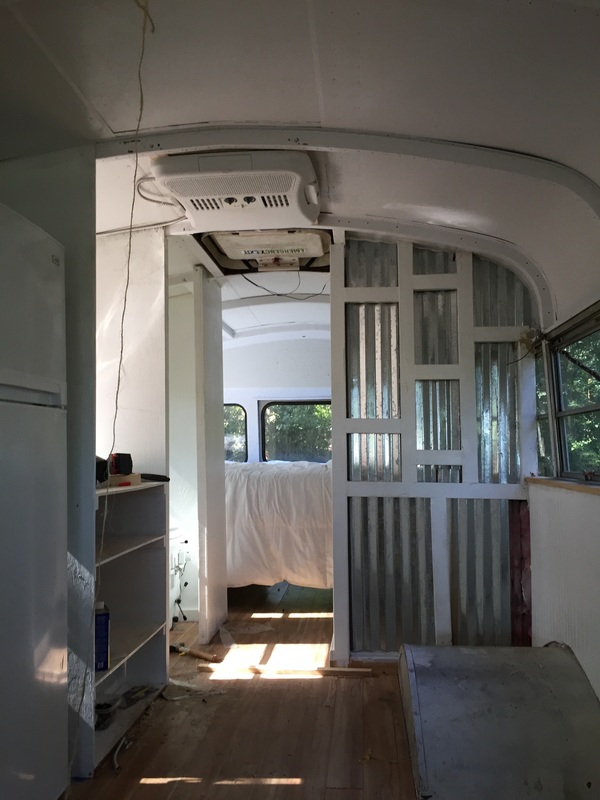
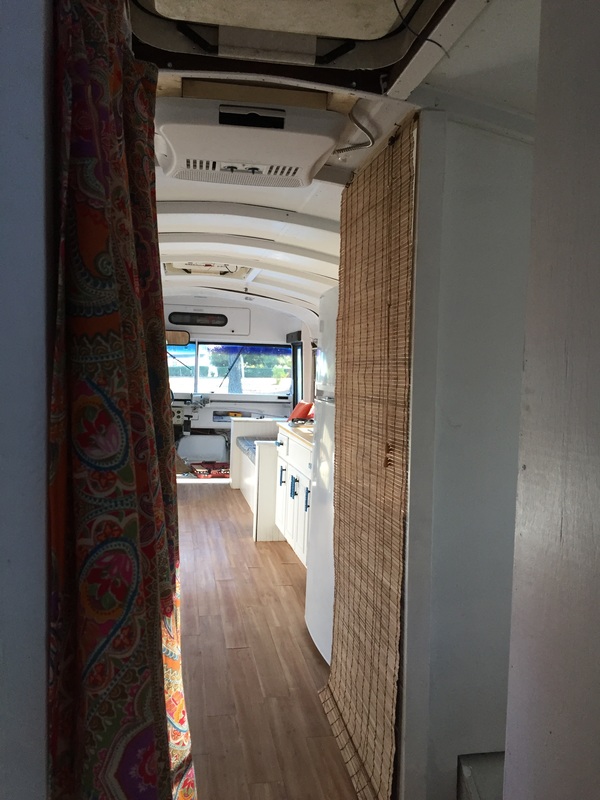
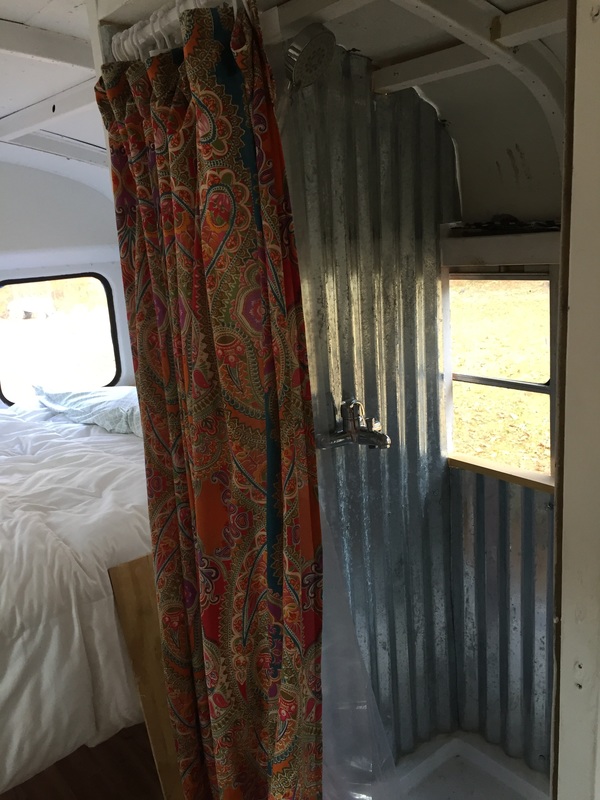
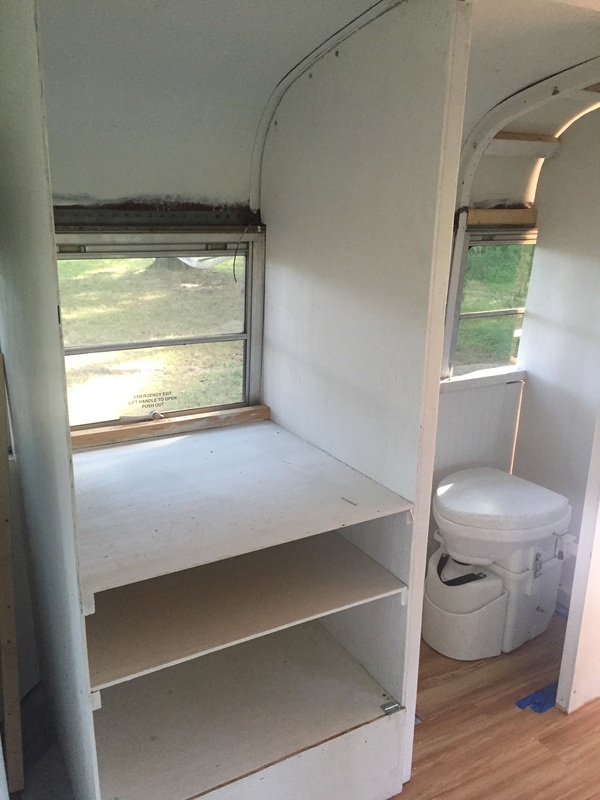
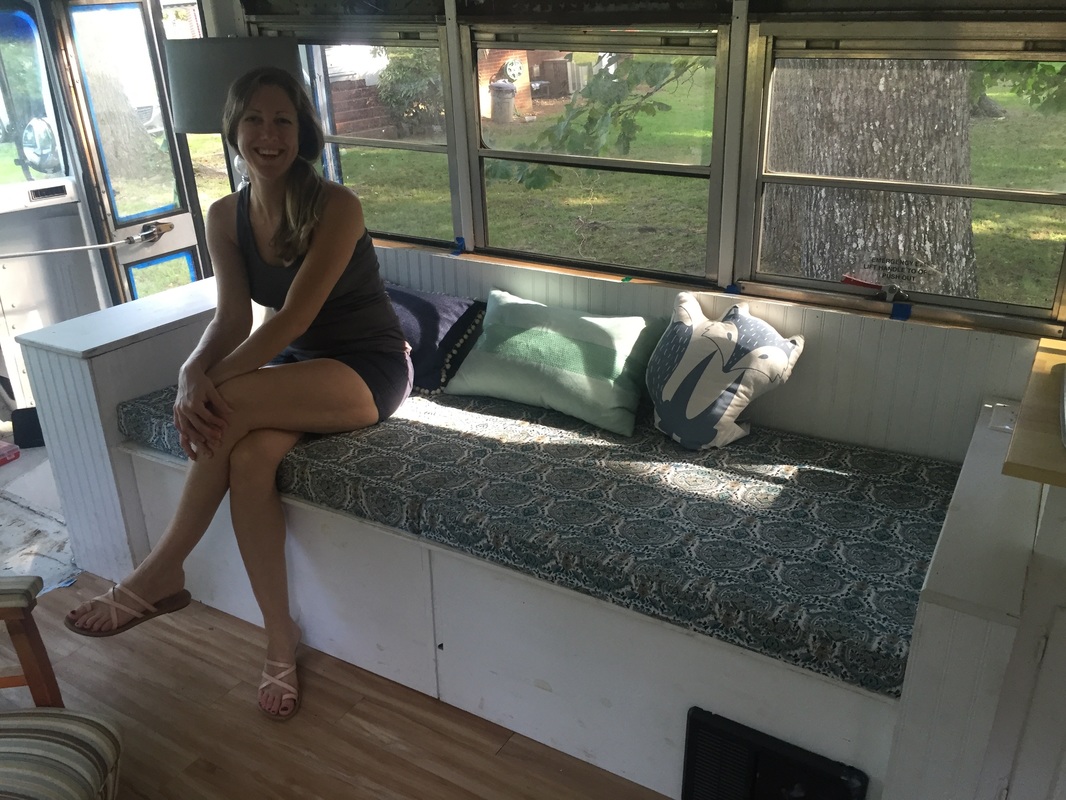
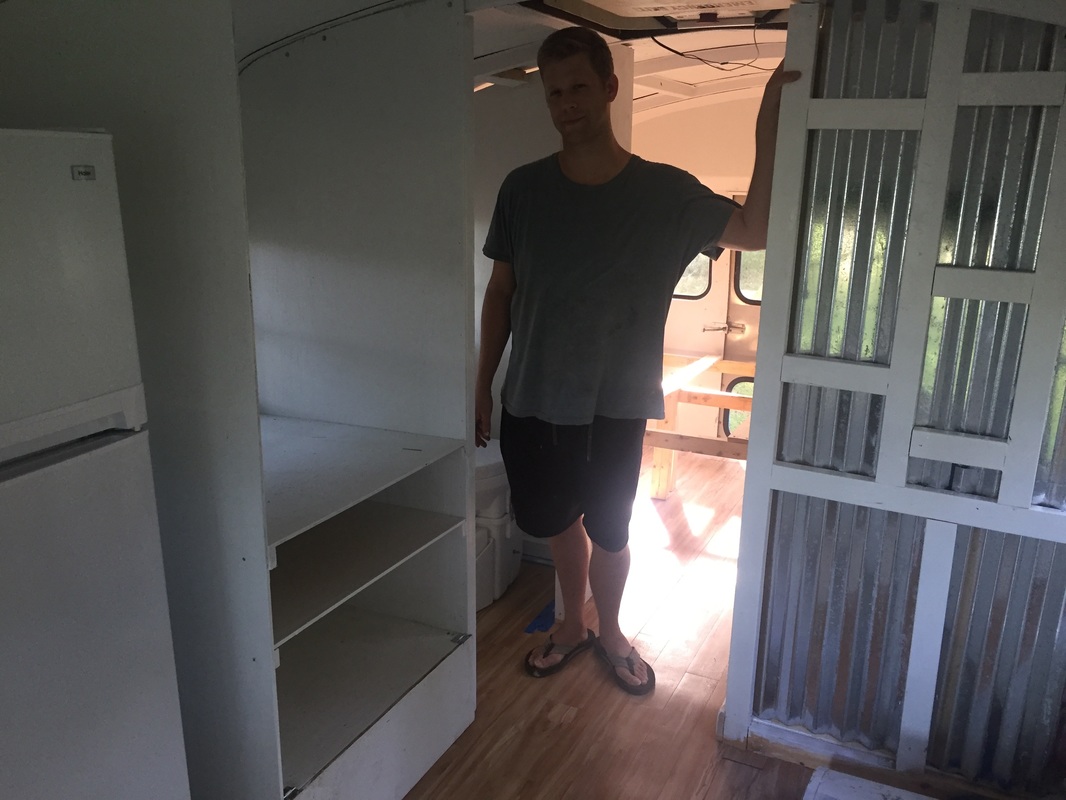
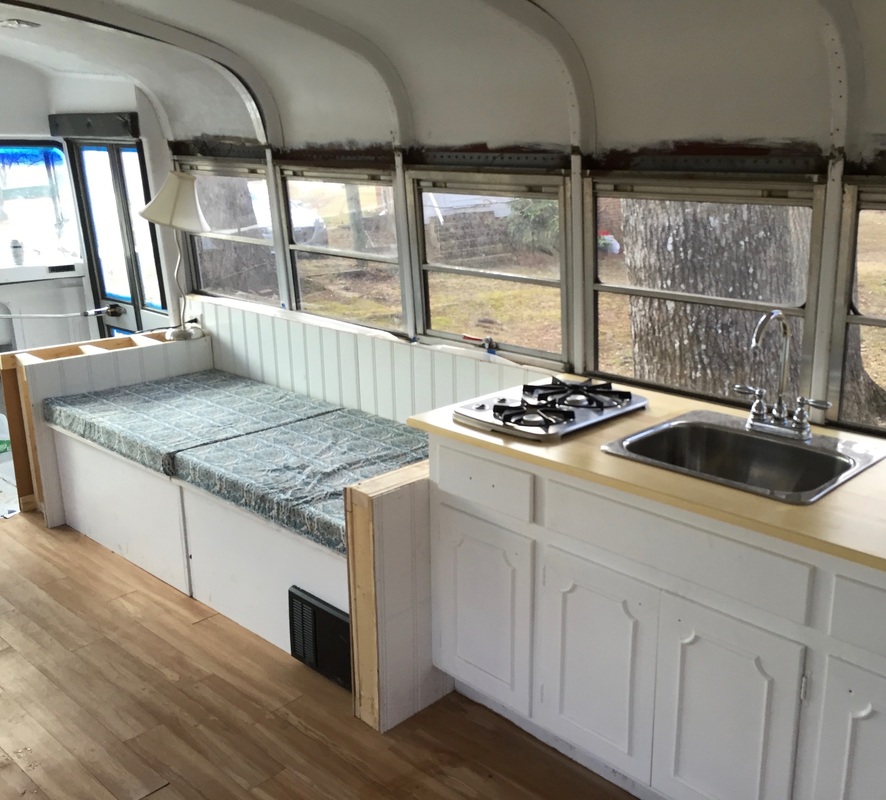
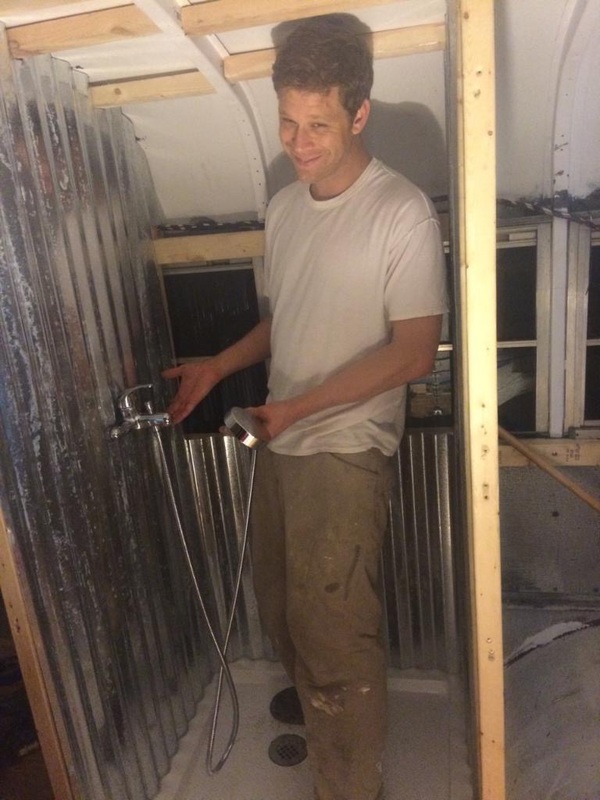
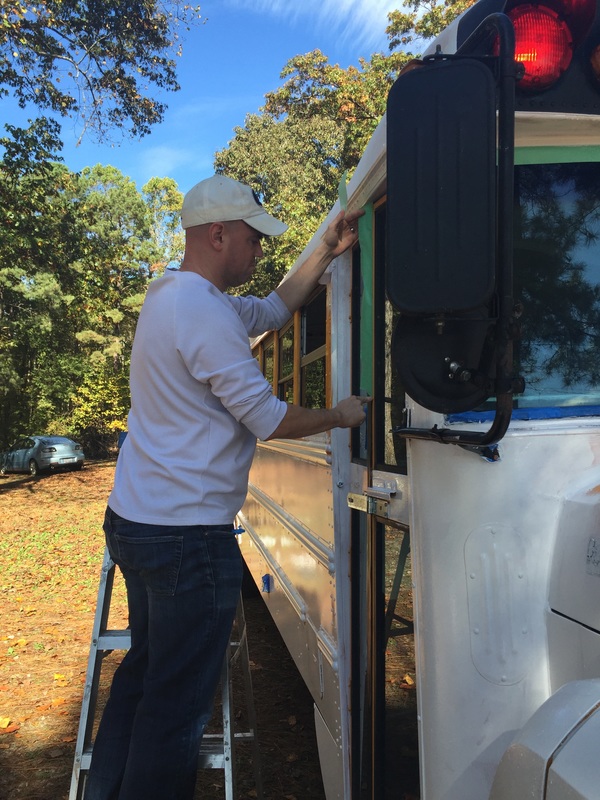
- Hung shower curtain bamboo blind over the closet
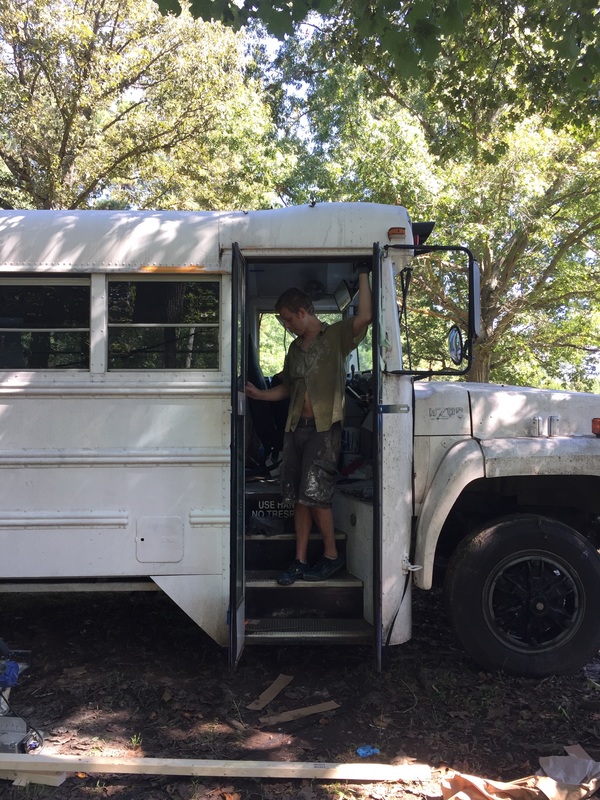
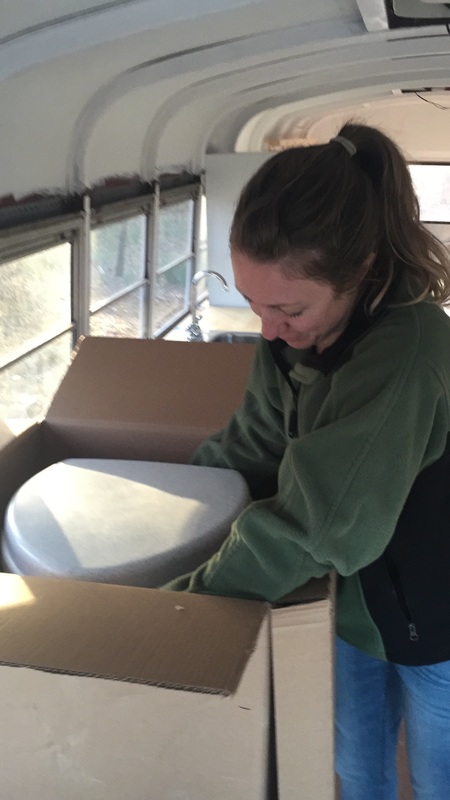
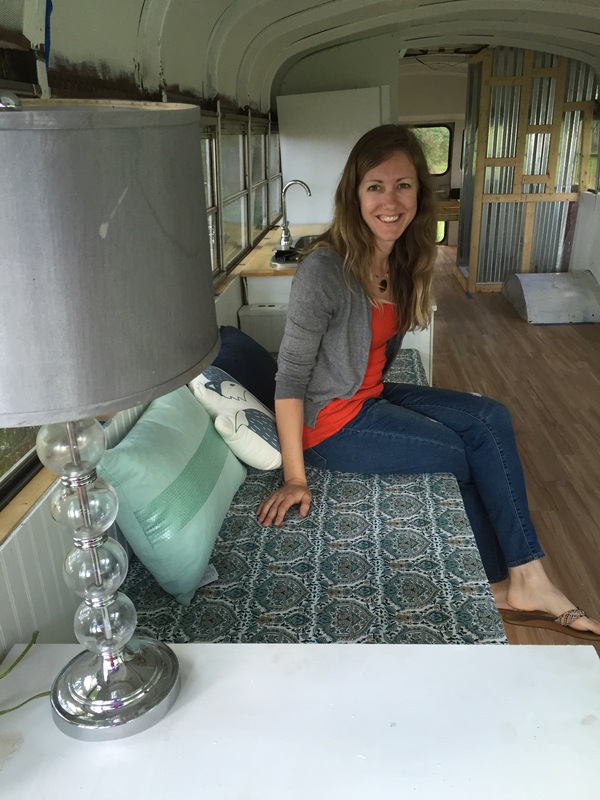
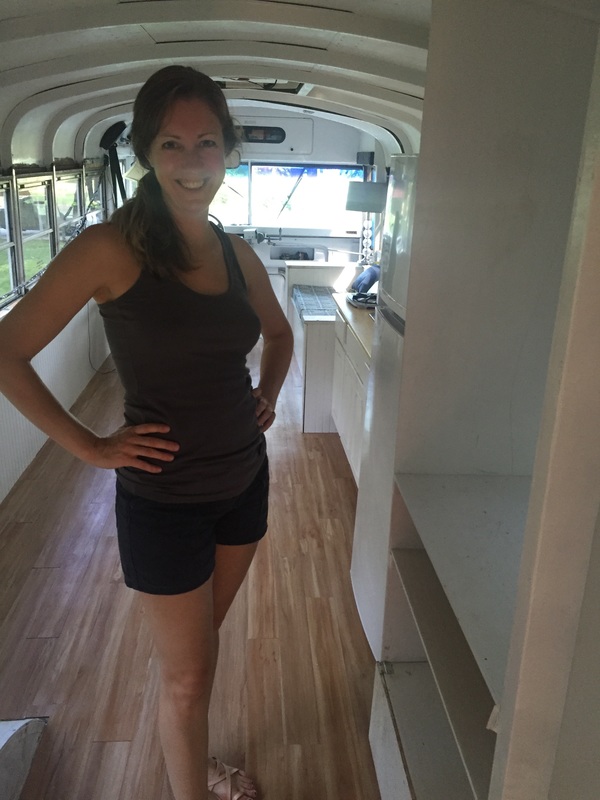
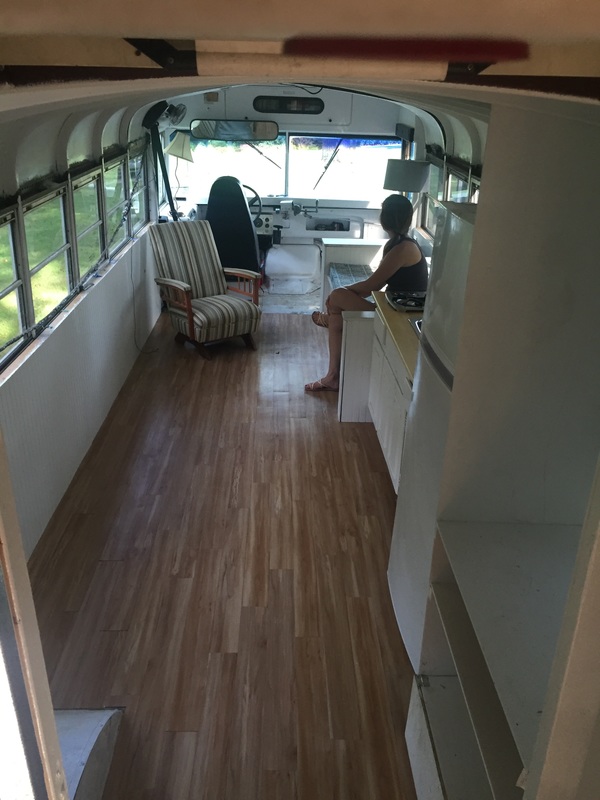
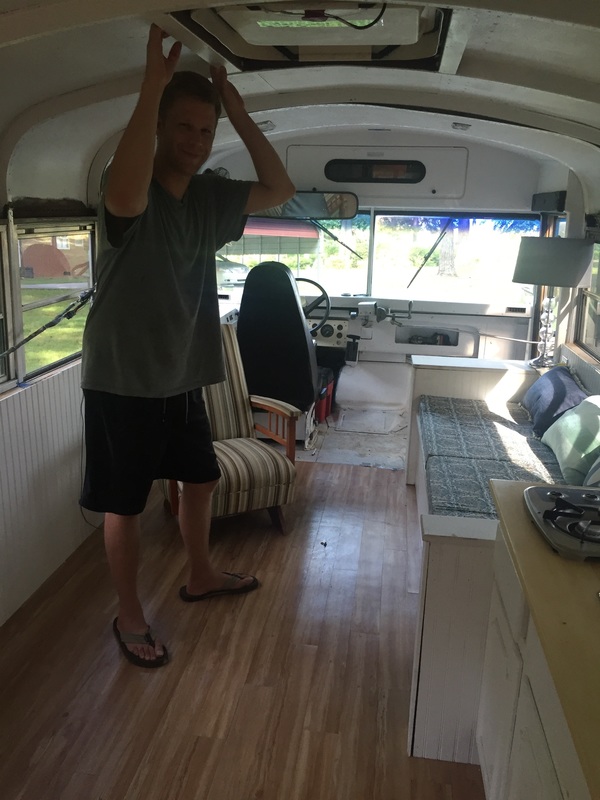
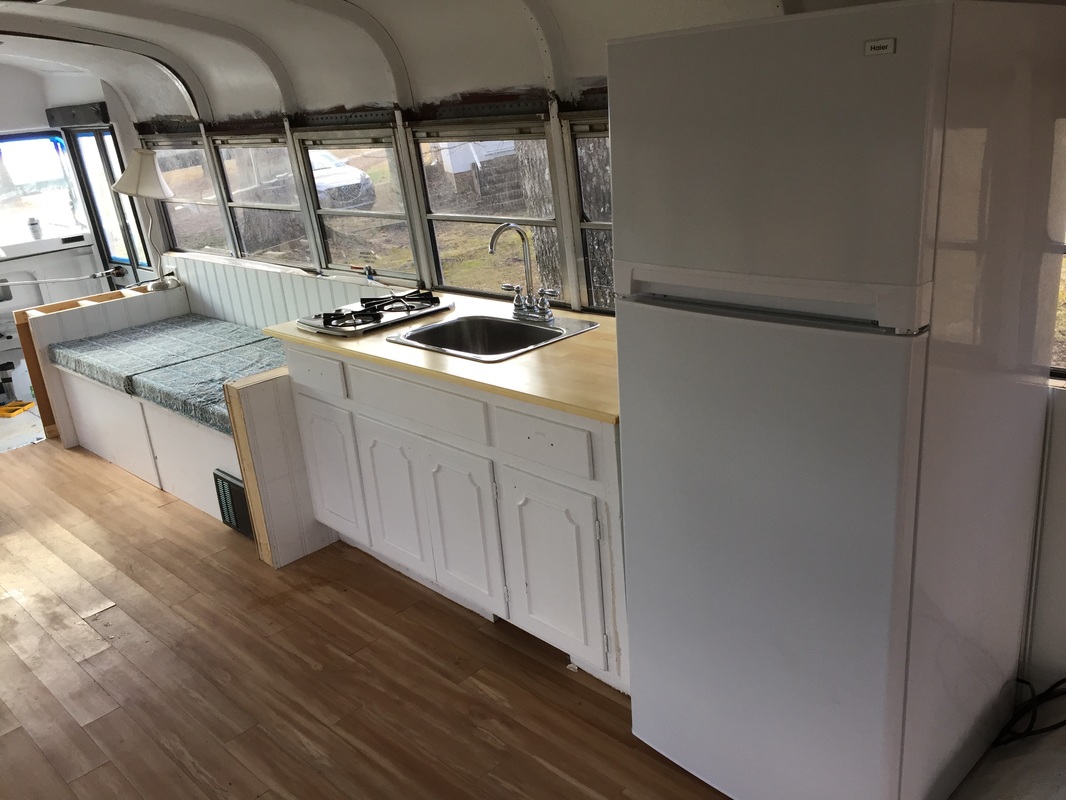
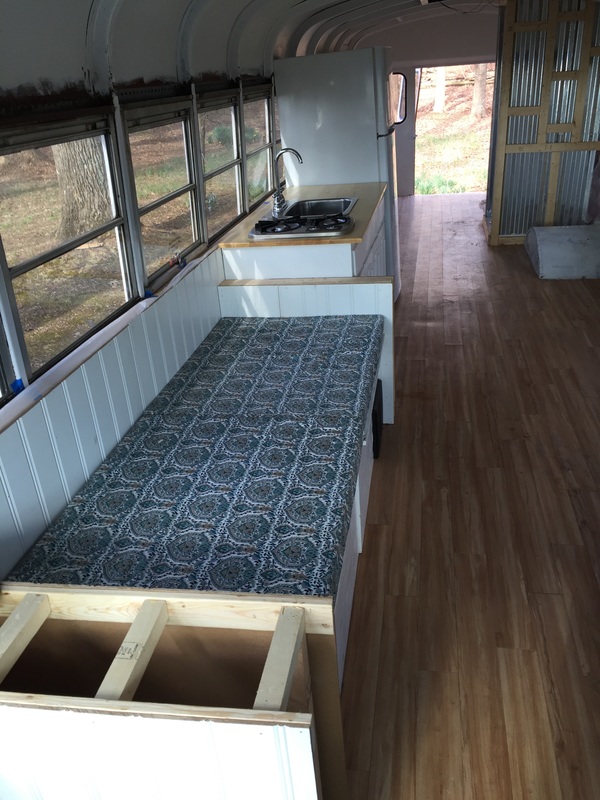
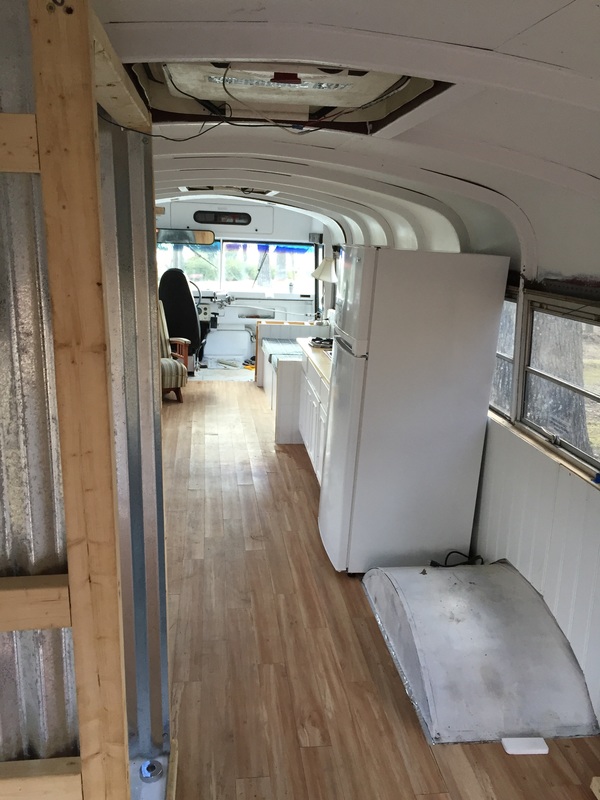
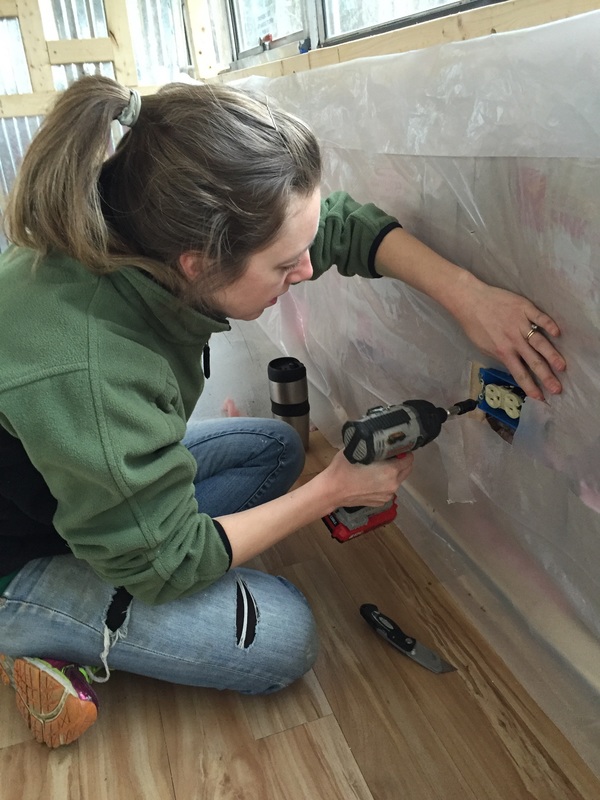
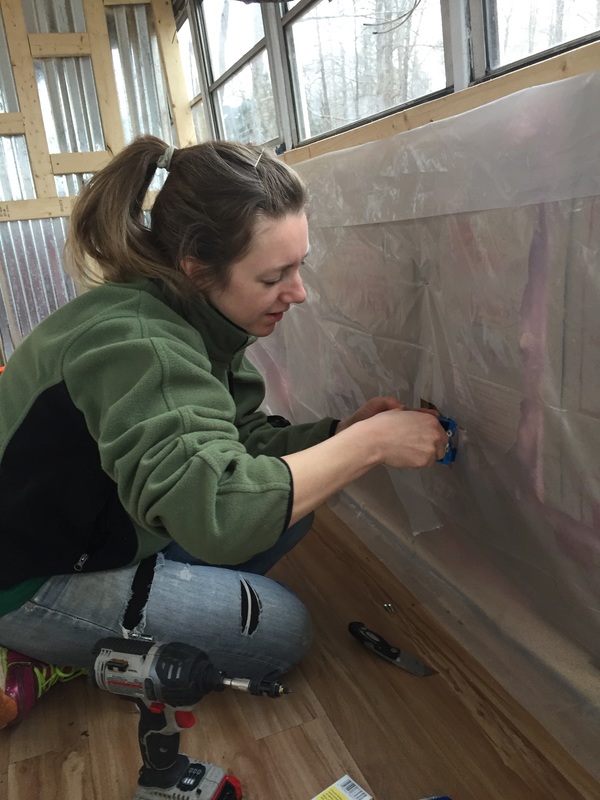
- Moved the office stuff in. Still looking for the right desk.

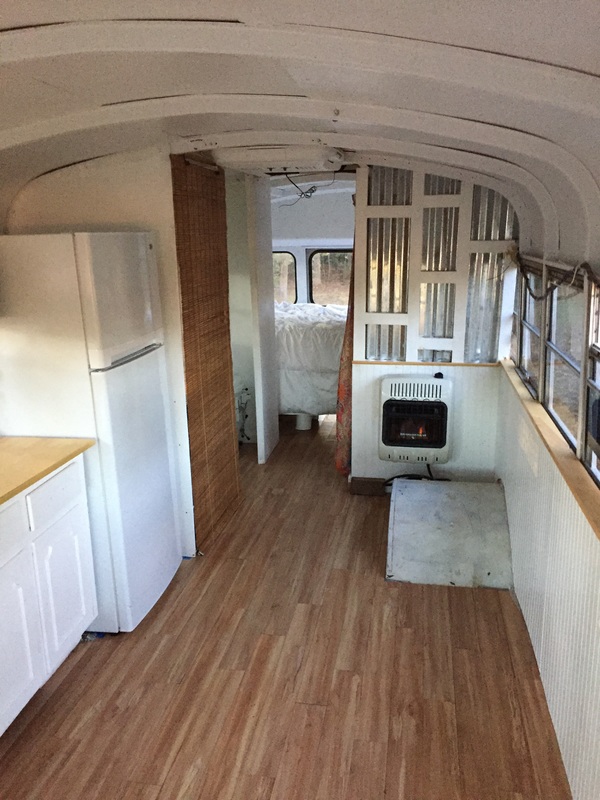

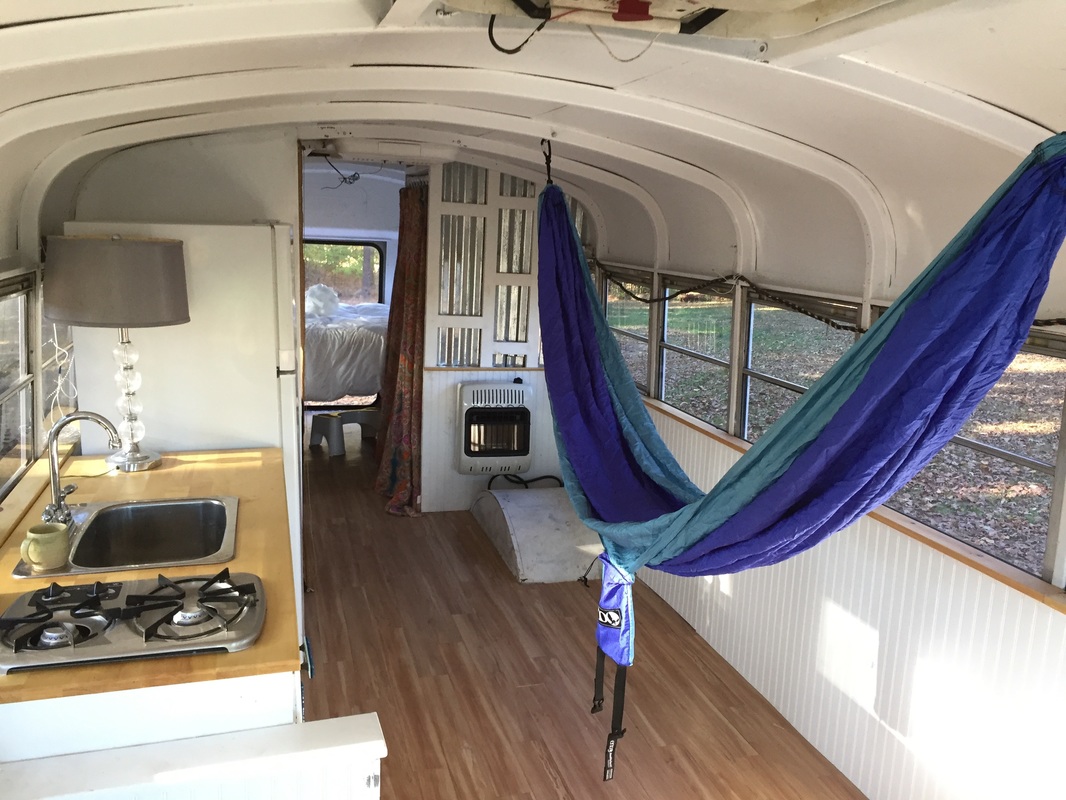

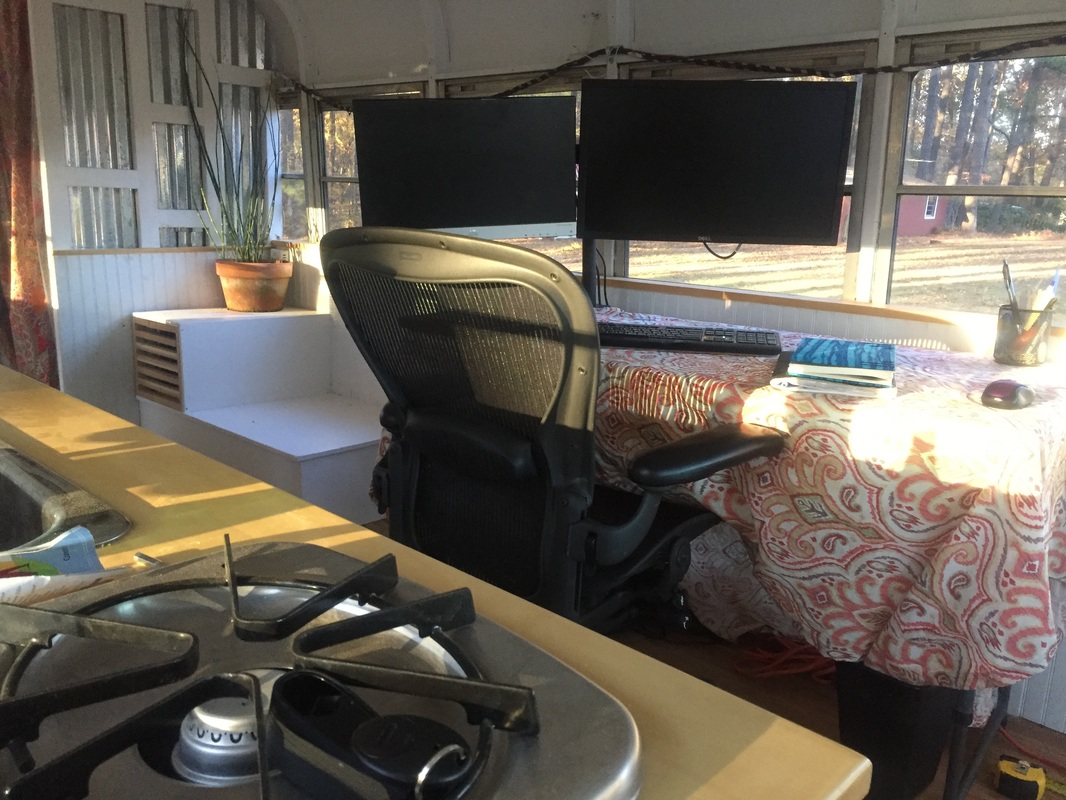

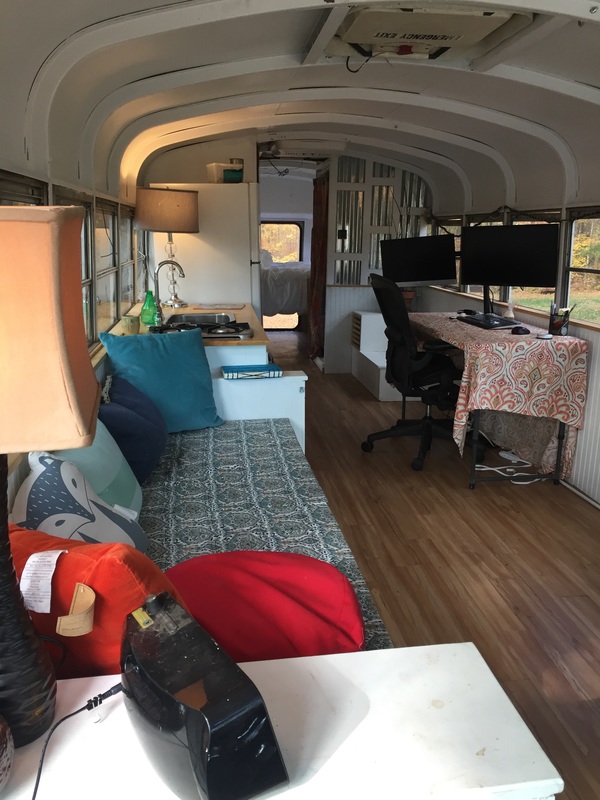


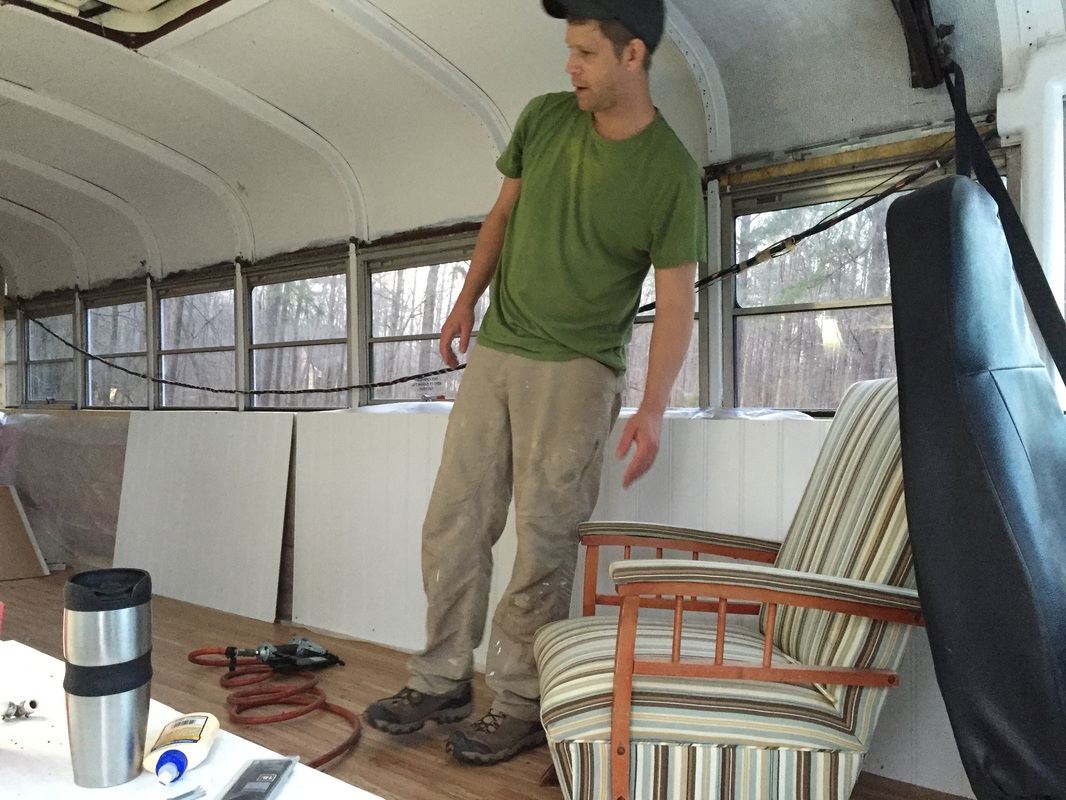
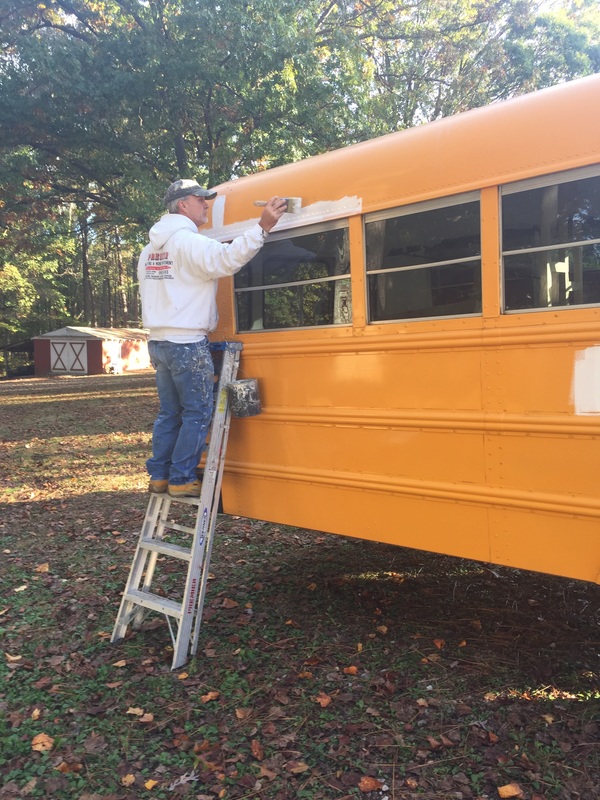
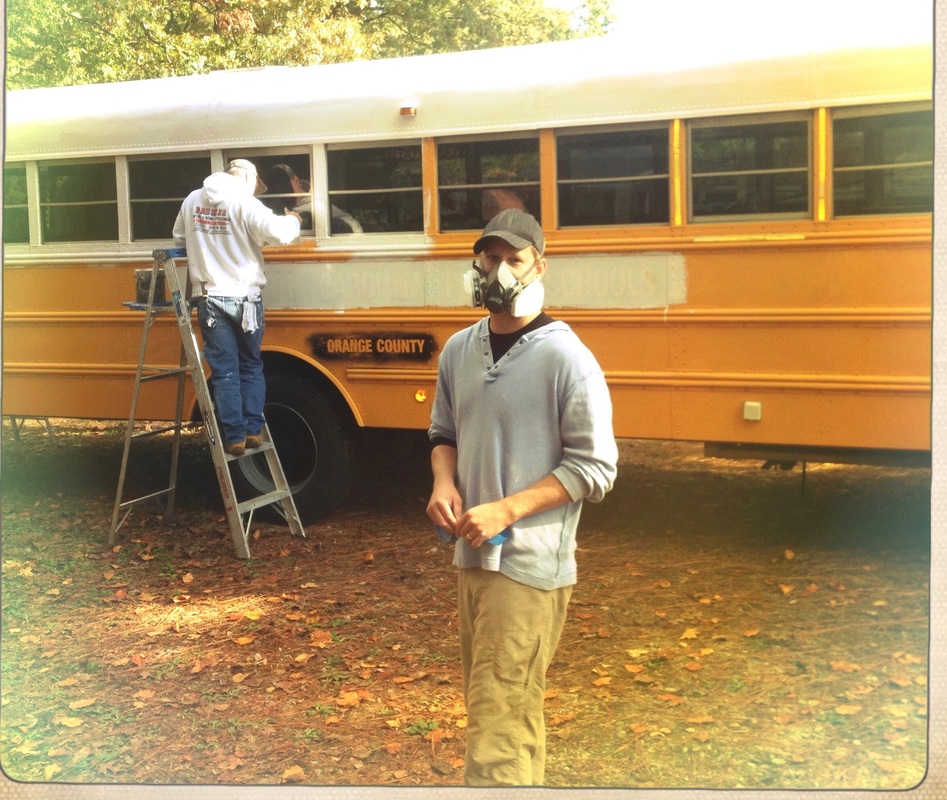
There's still plenty to do. Courtney is working on sewing curtains. We'll do something with the cab and throw on another coat of paint or two. I have the feeling that our priorities are about to change though.


 RSS Feed
