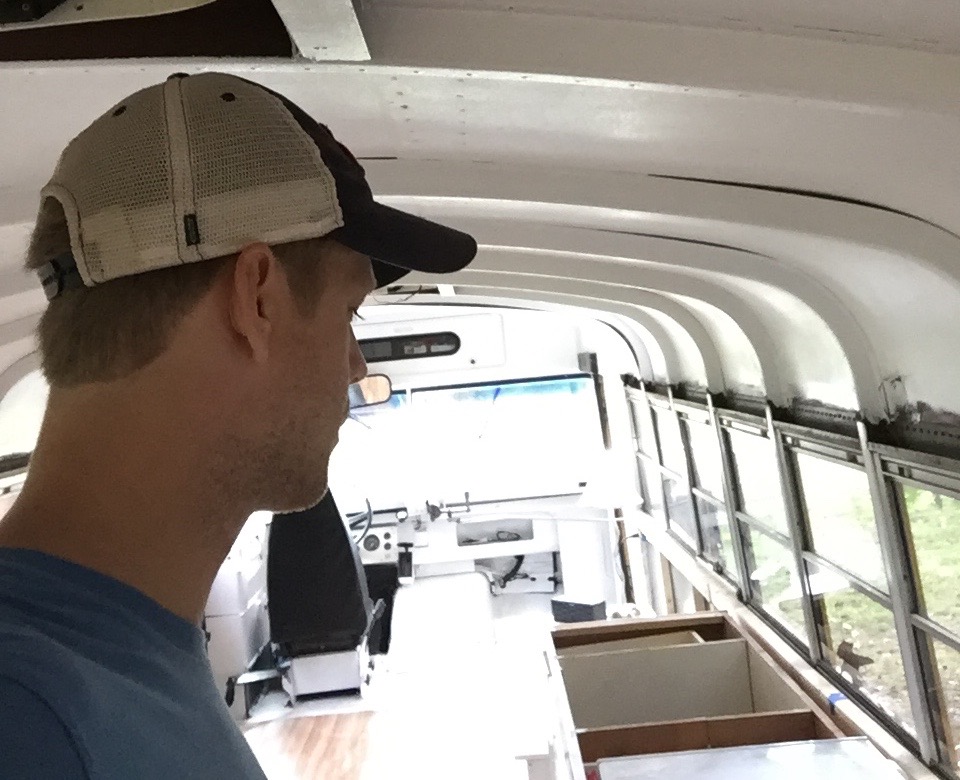
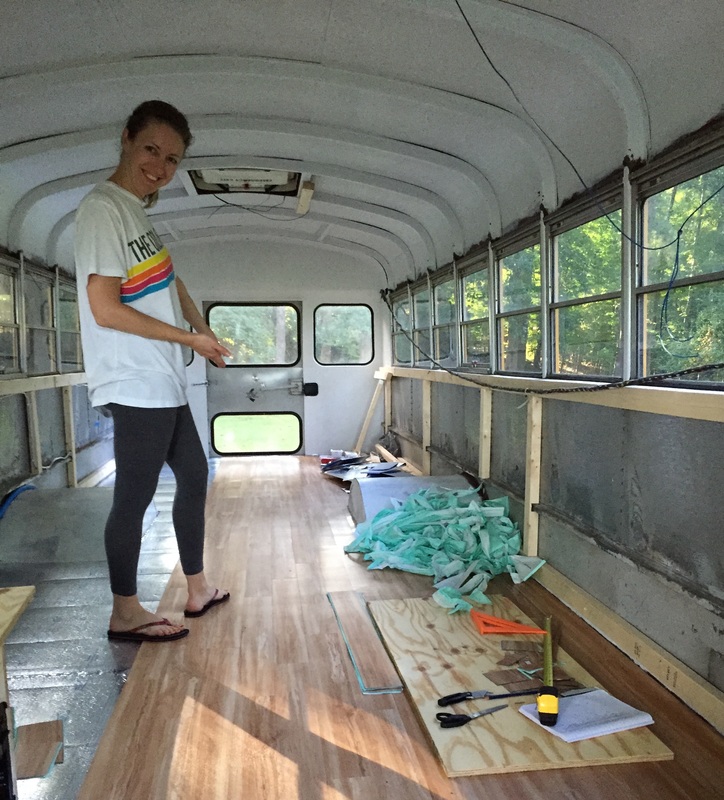
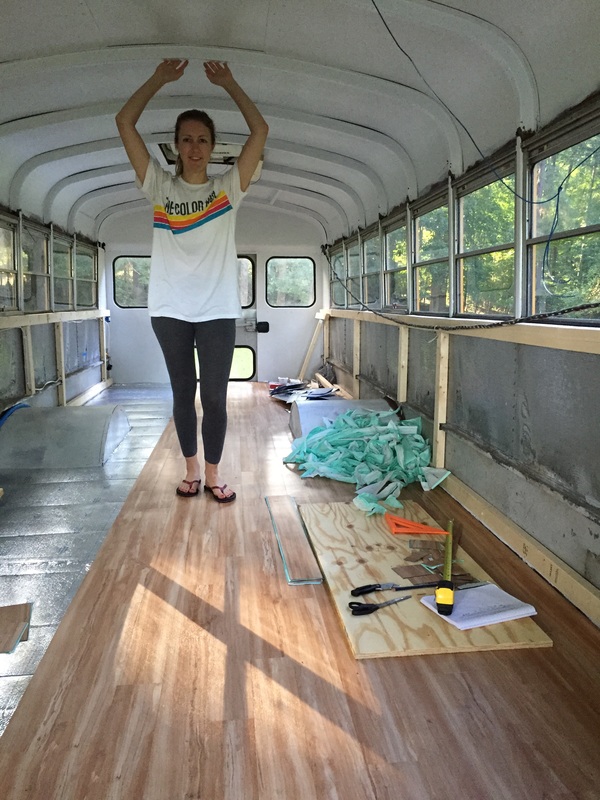
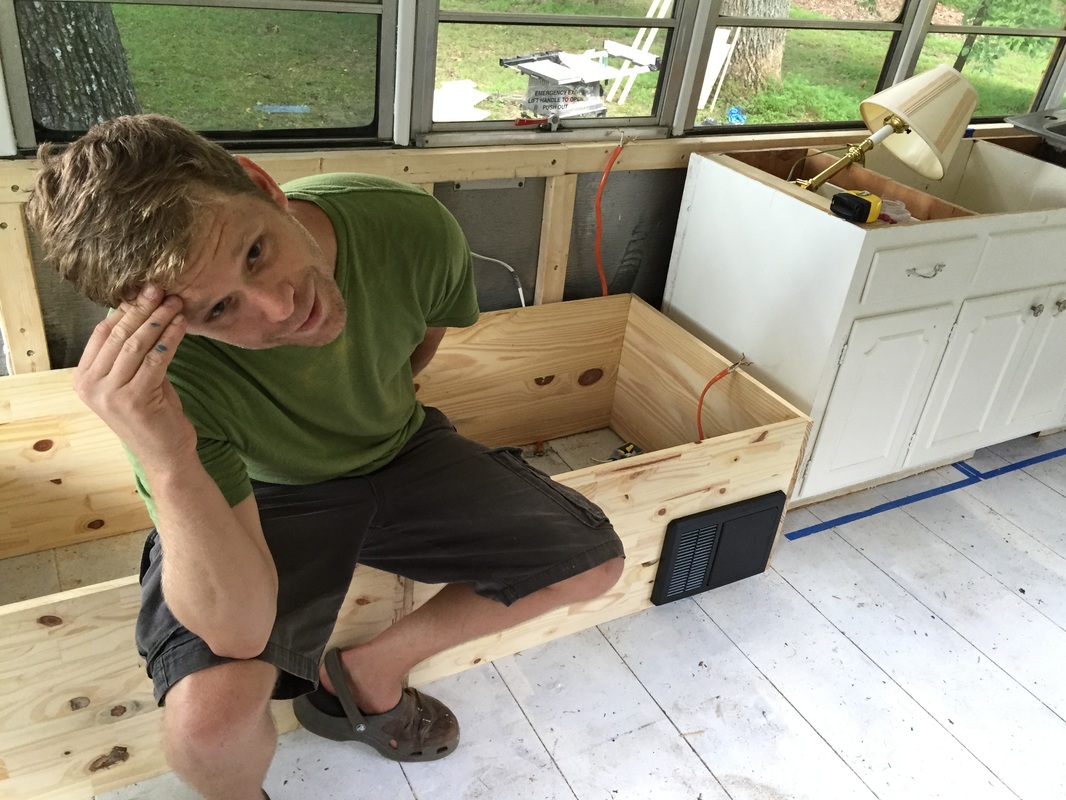
Just a few shots of where things stand. Up next is painting the outside and tackling the plumbing.
|
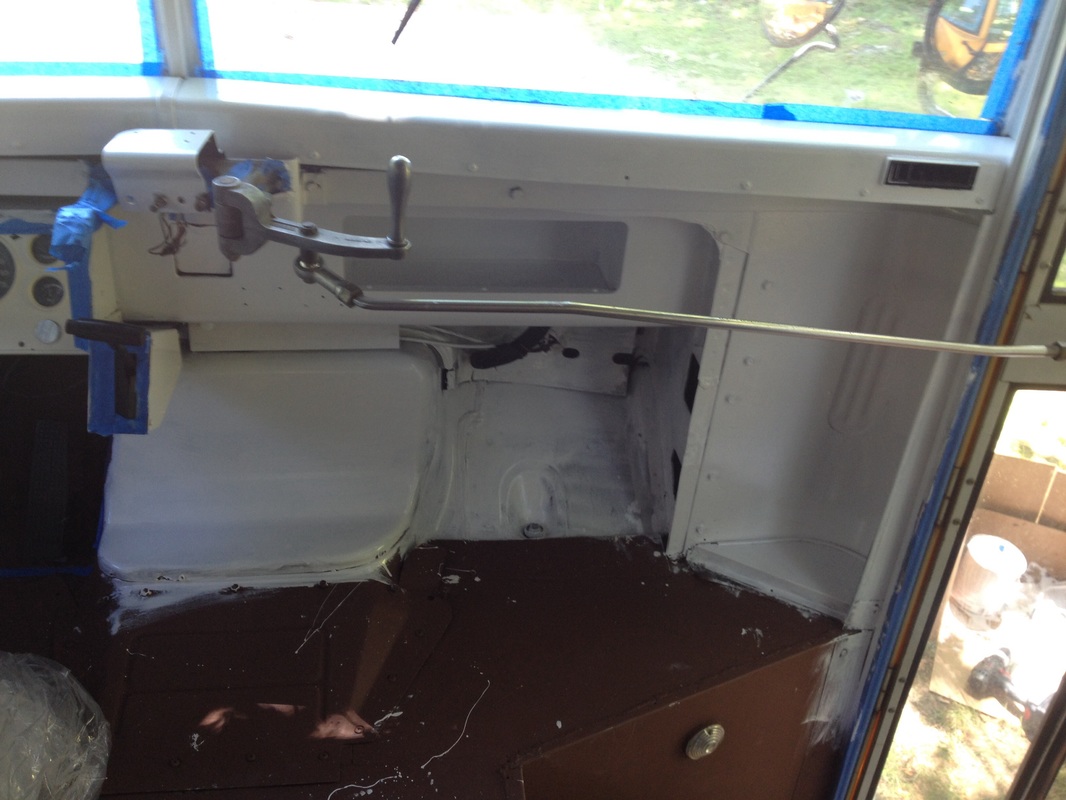
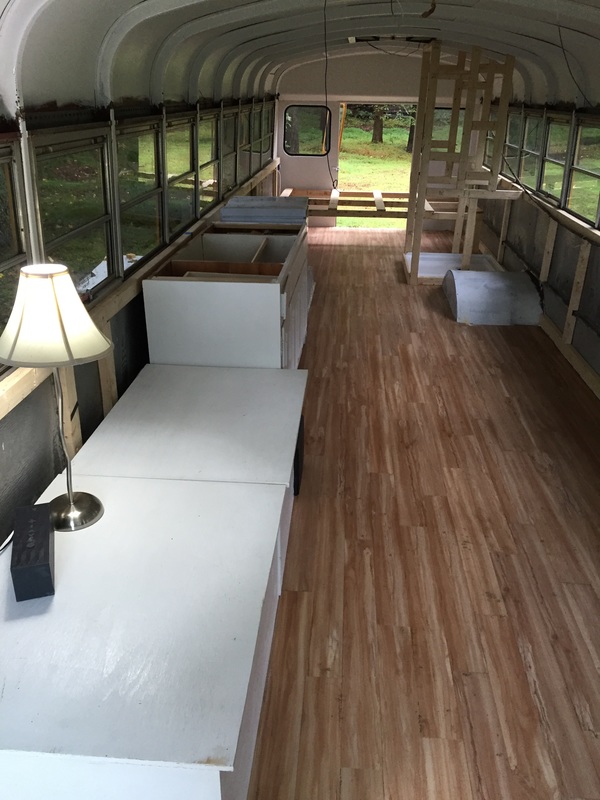
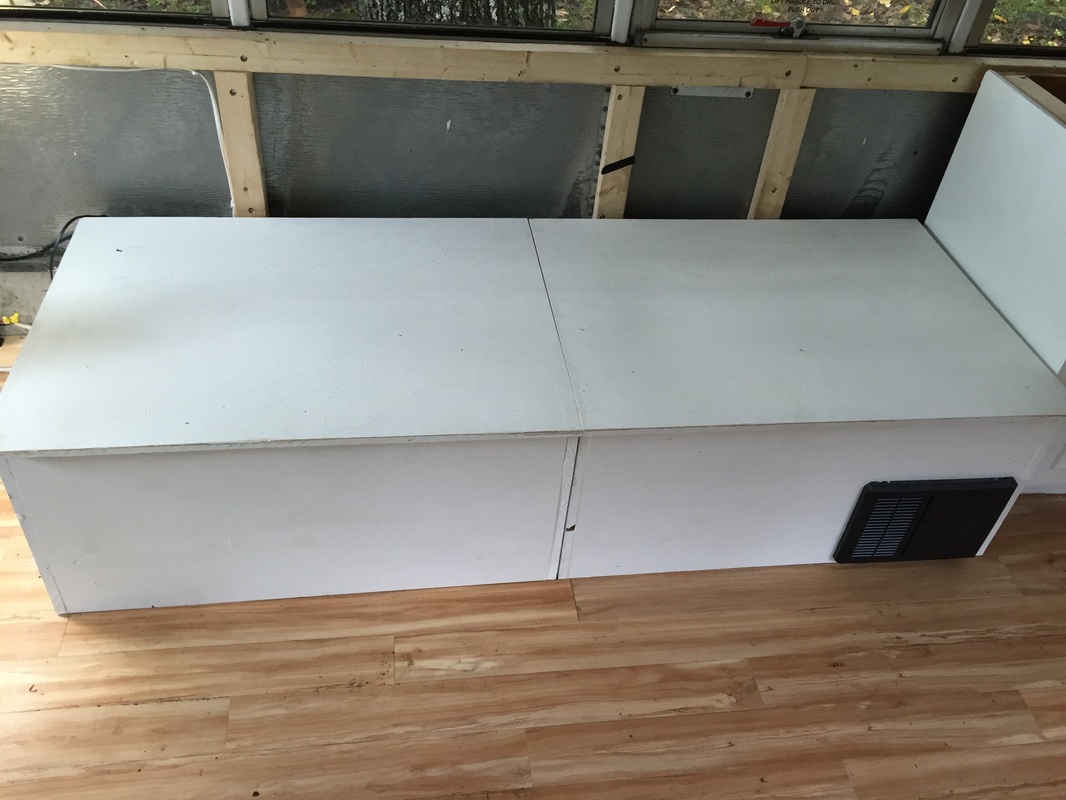
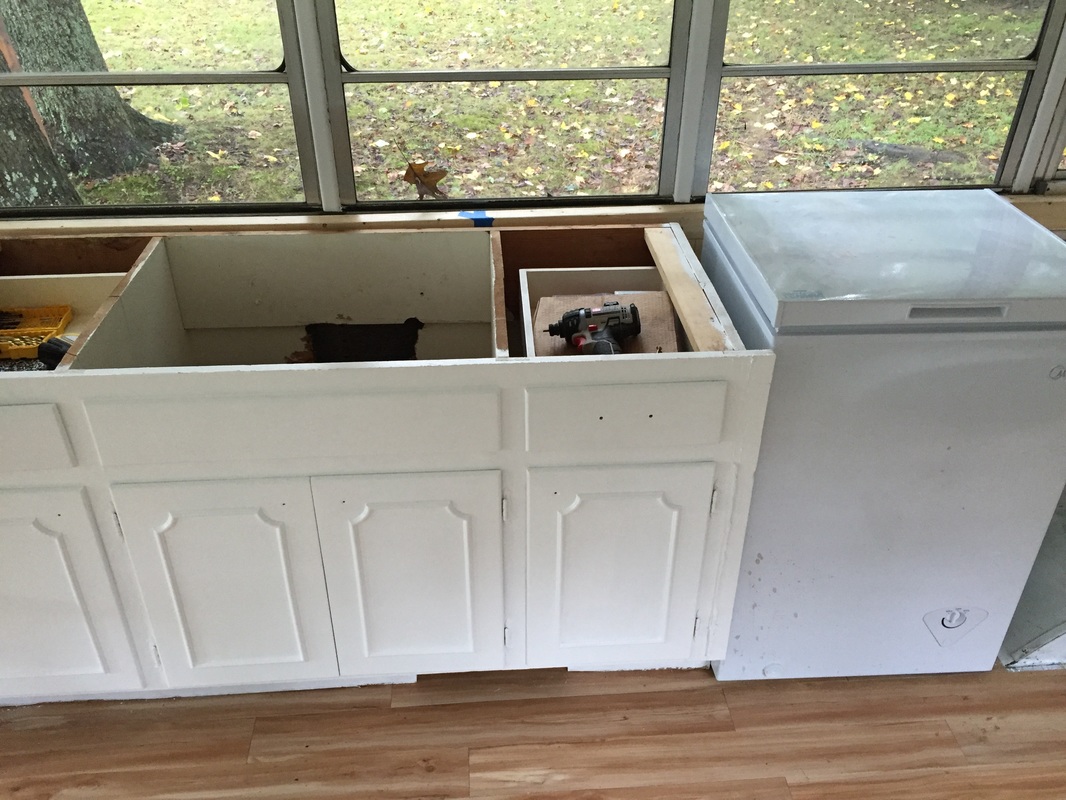
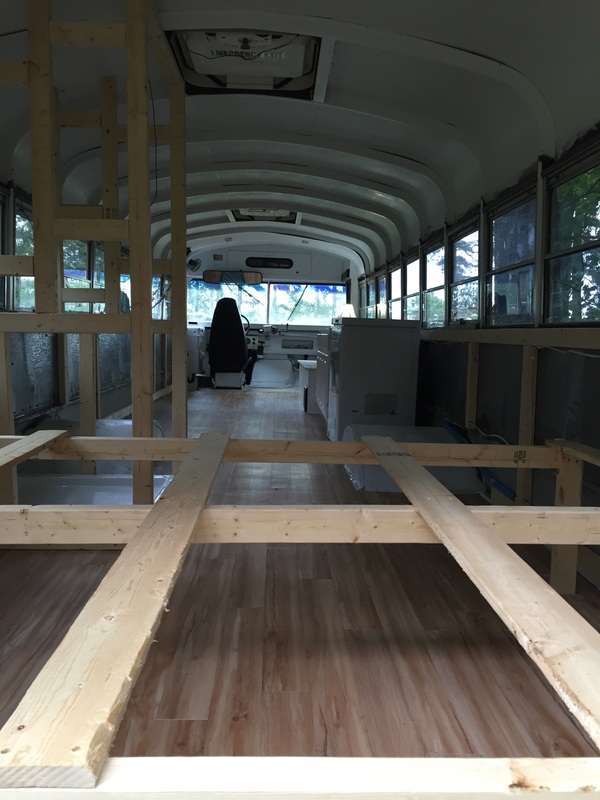
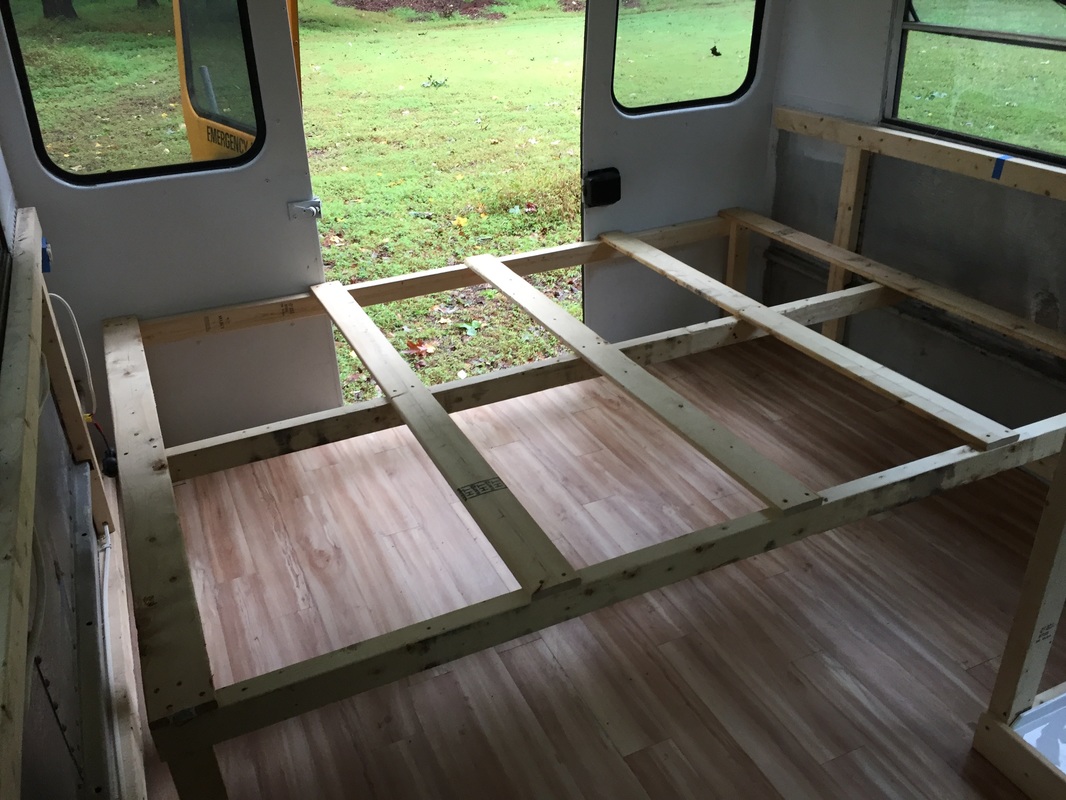
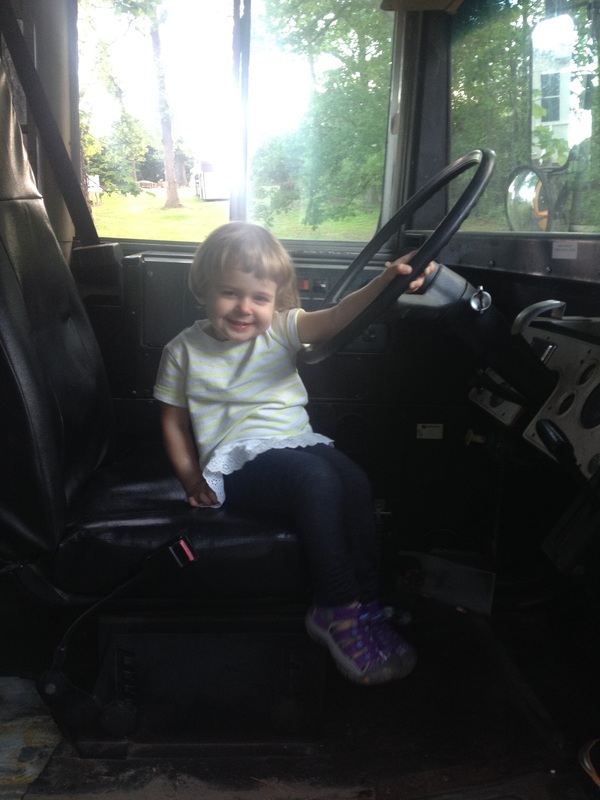
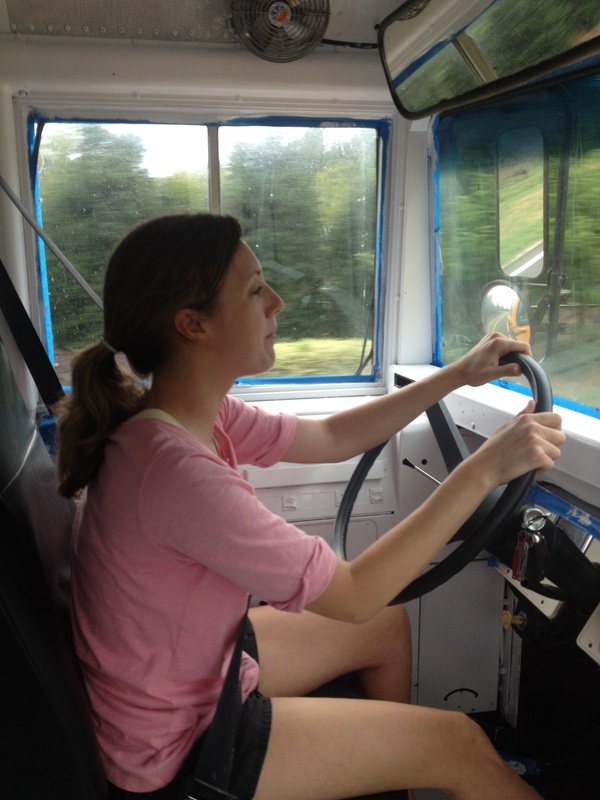
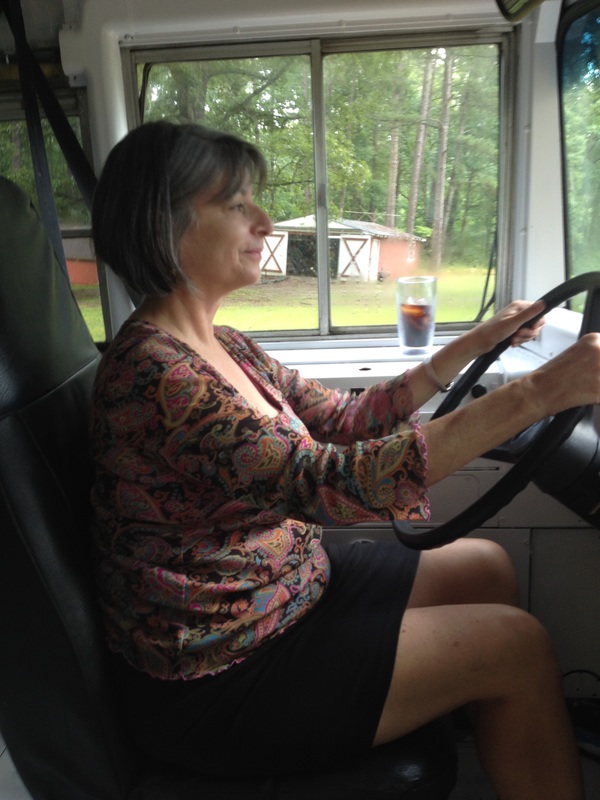
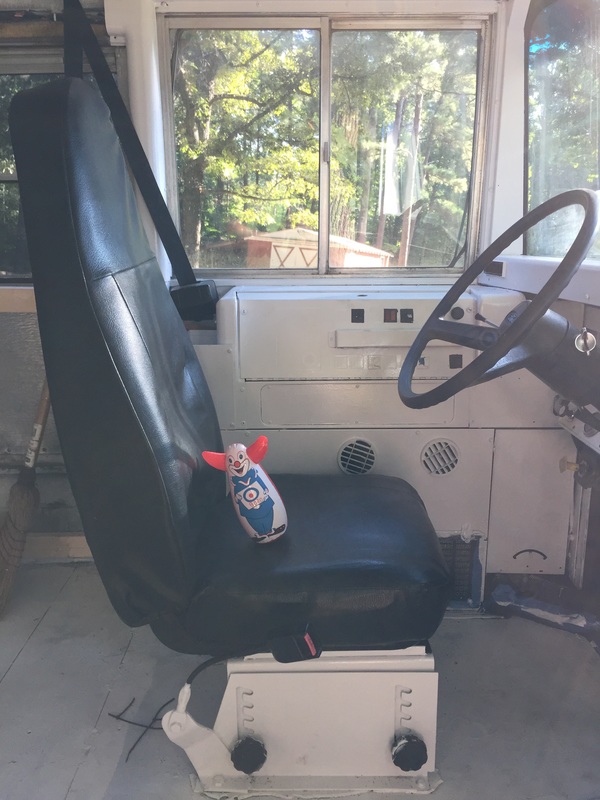
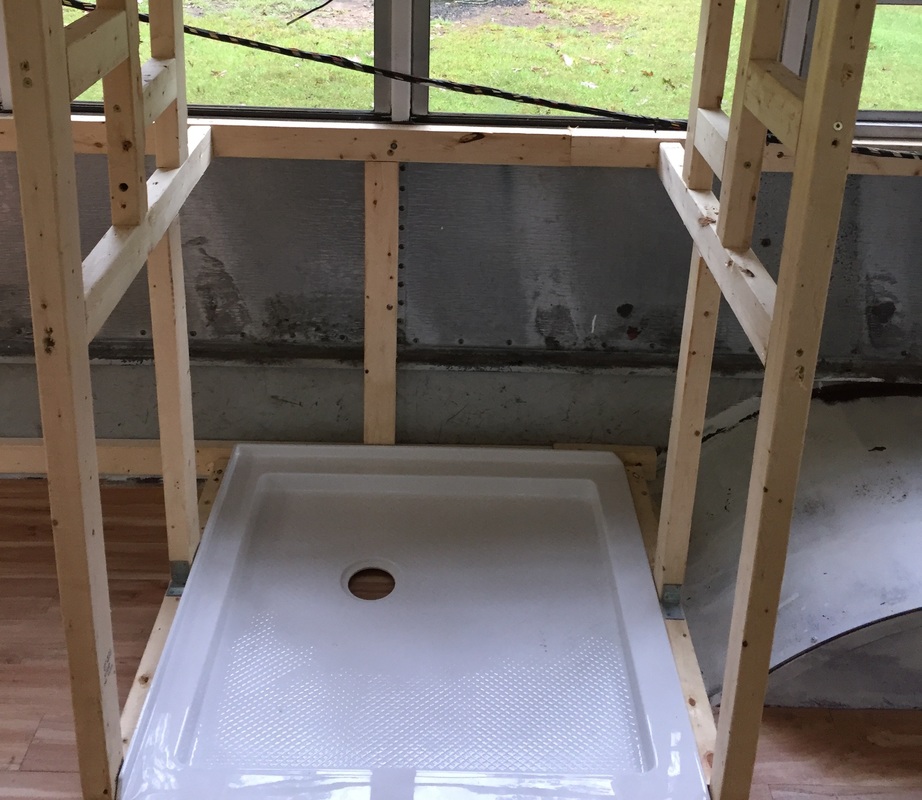
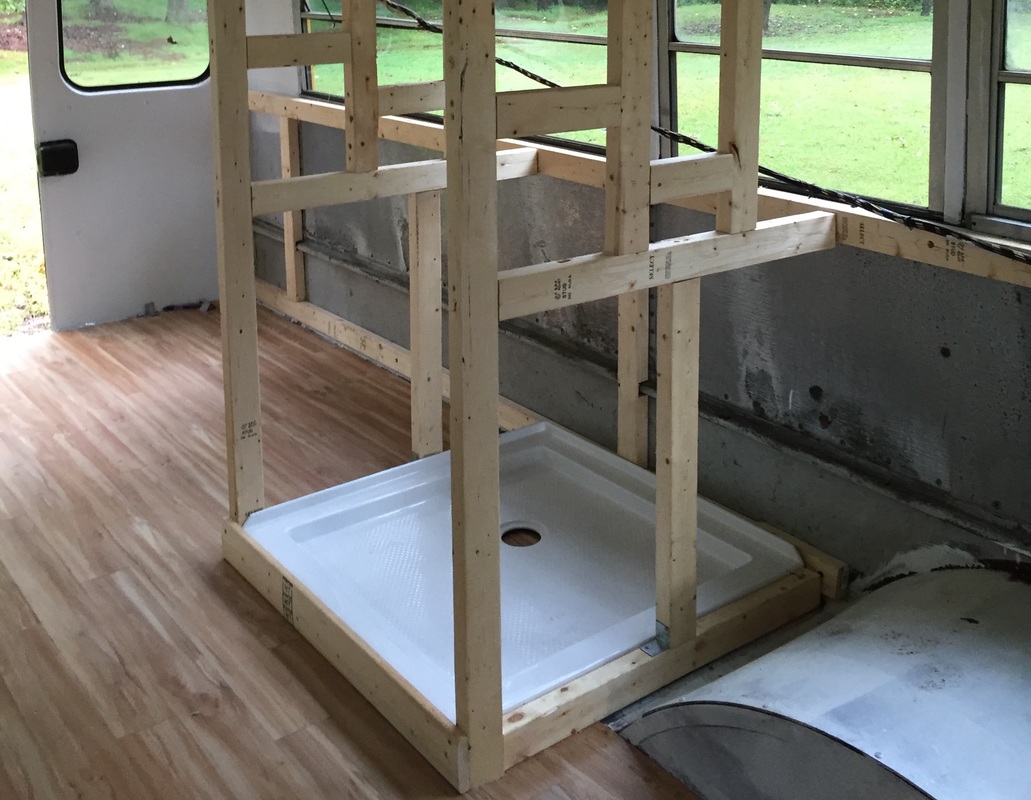
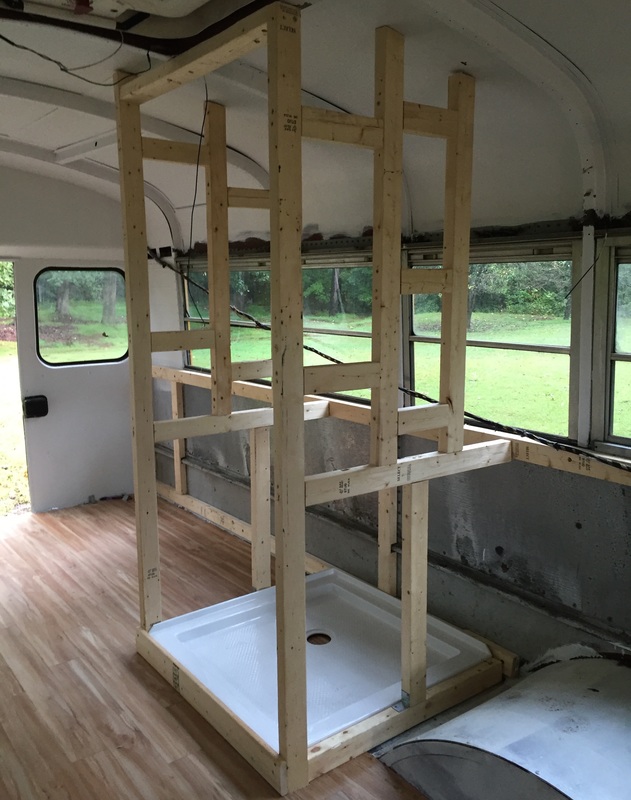
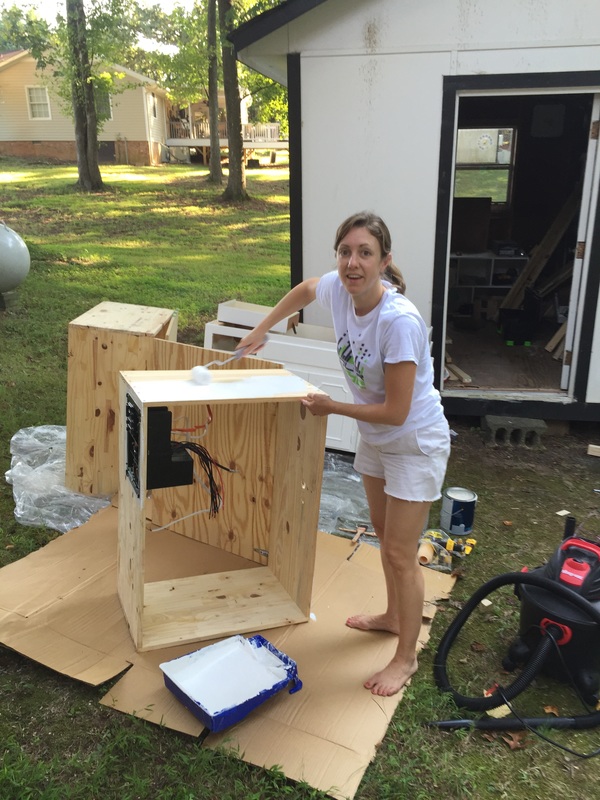
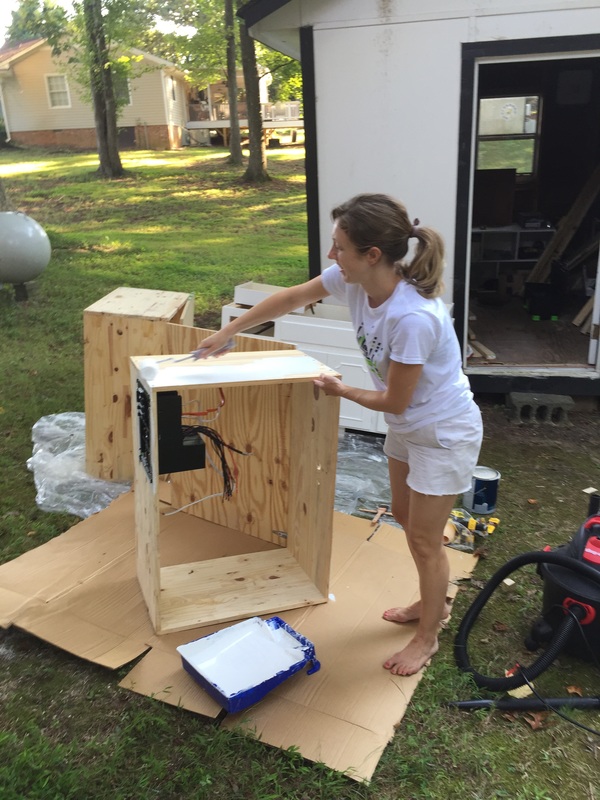
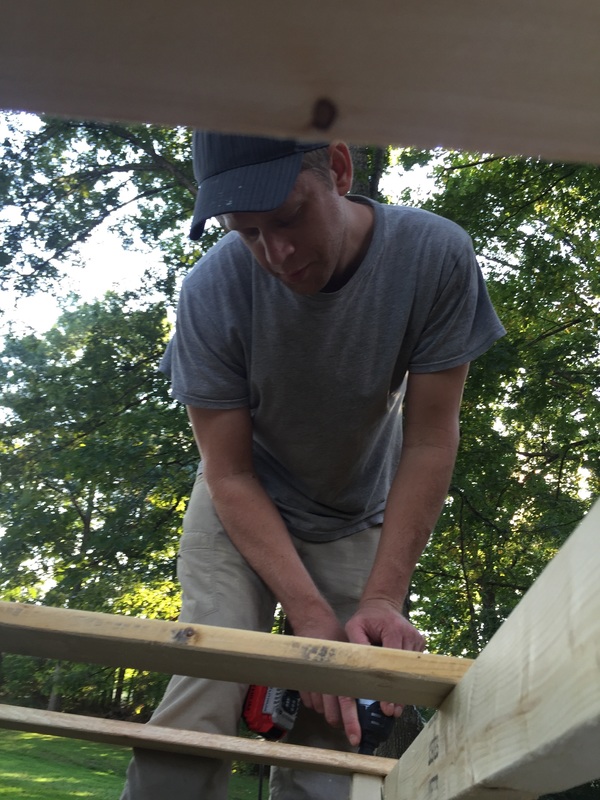
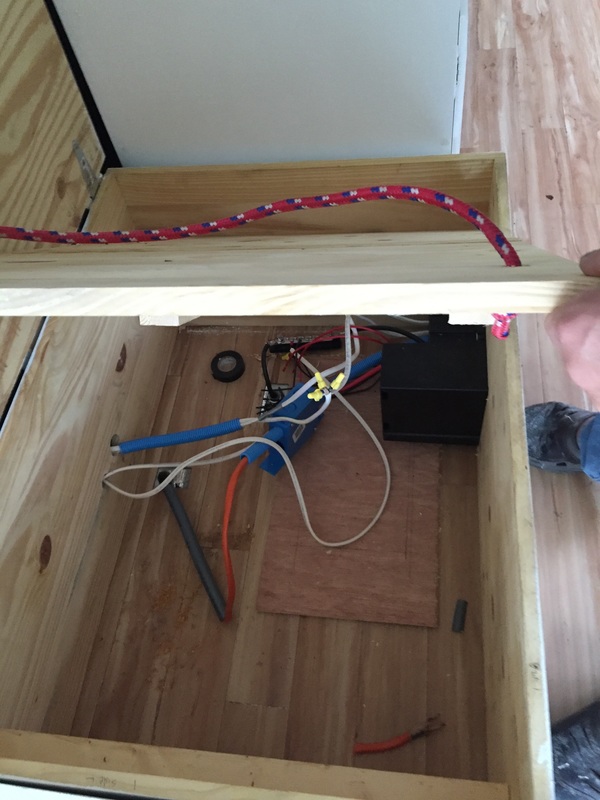
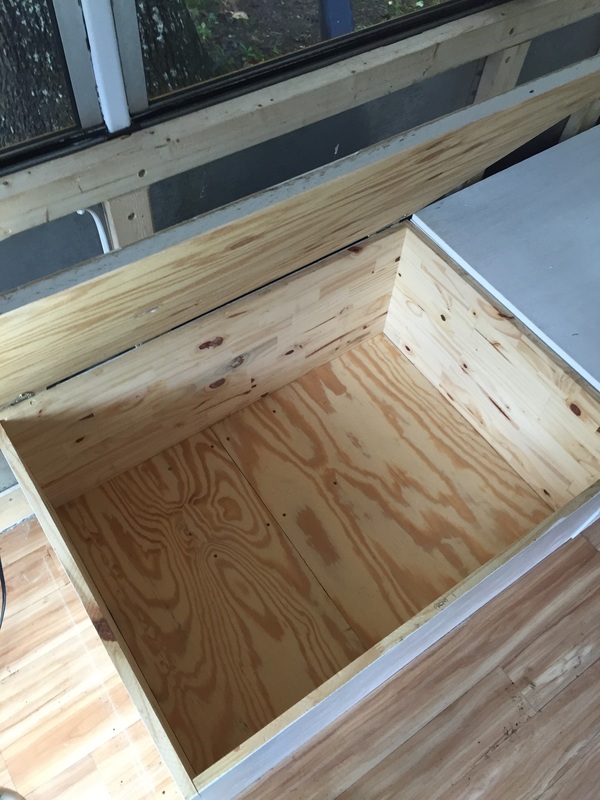
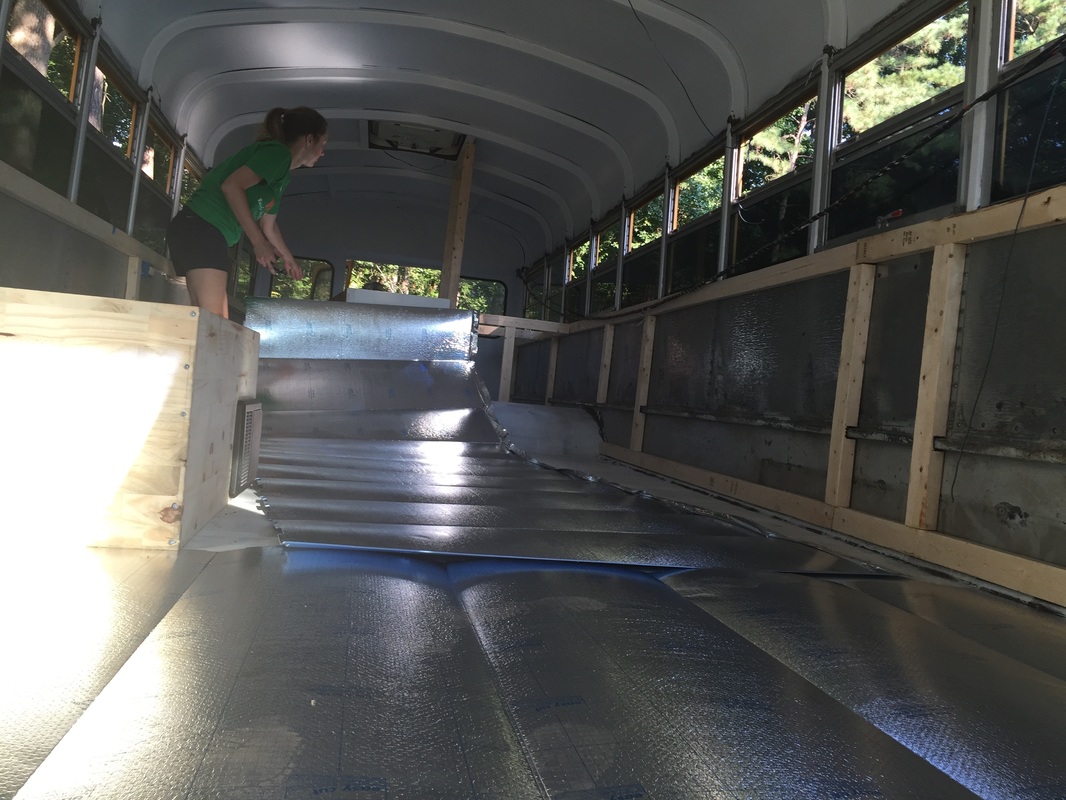
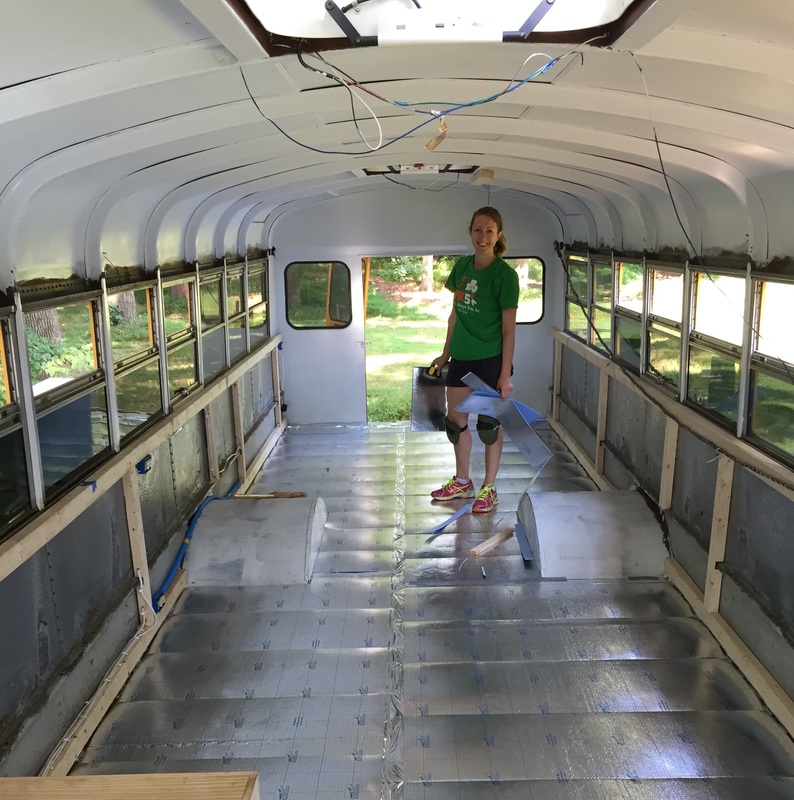
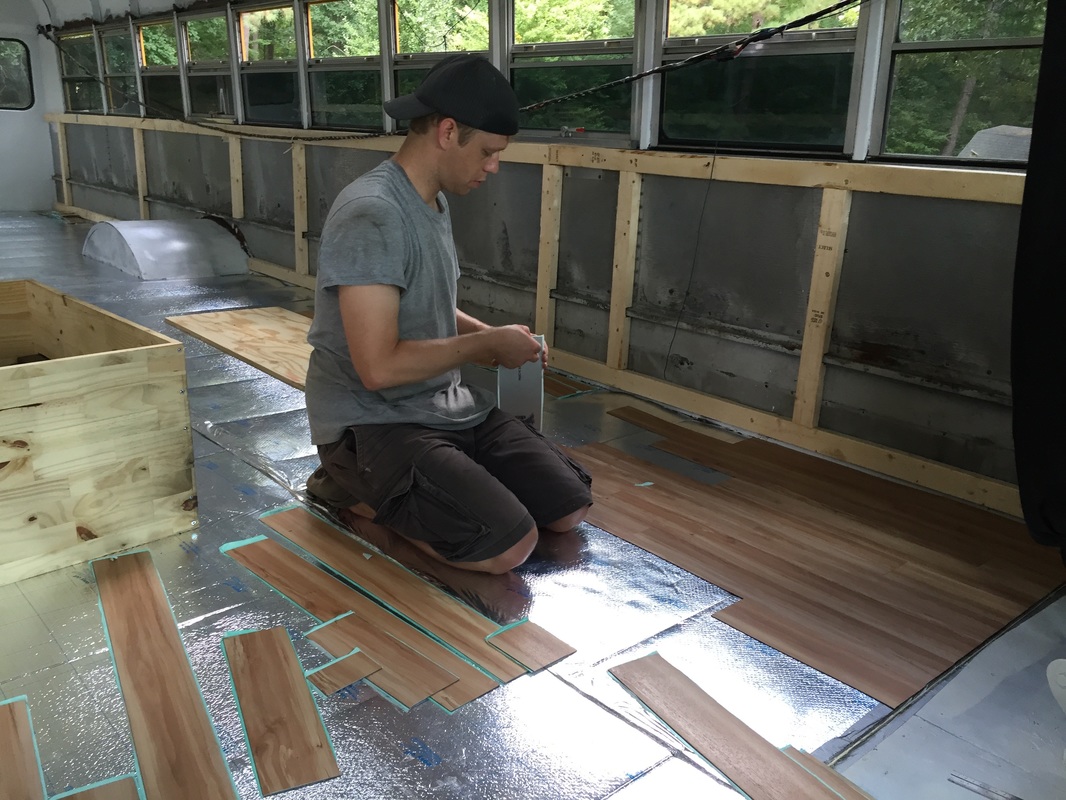
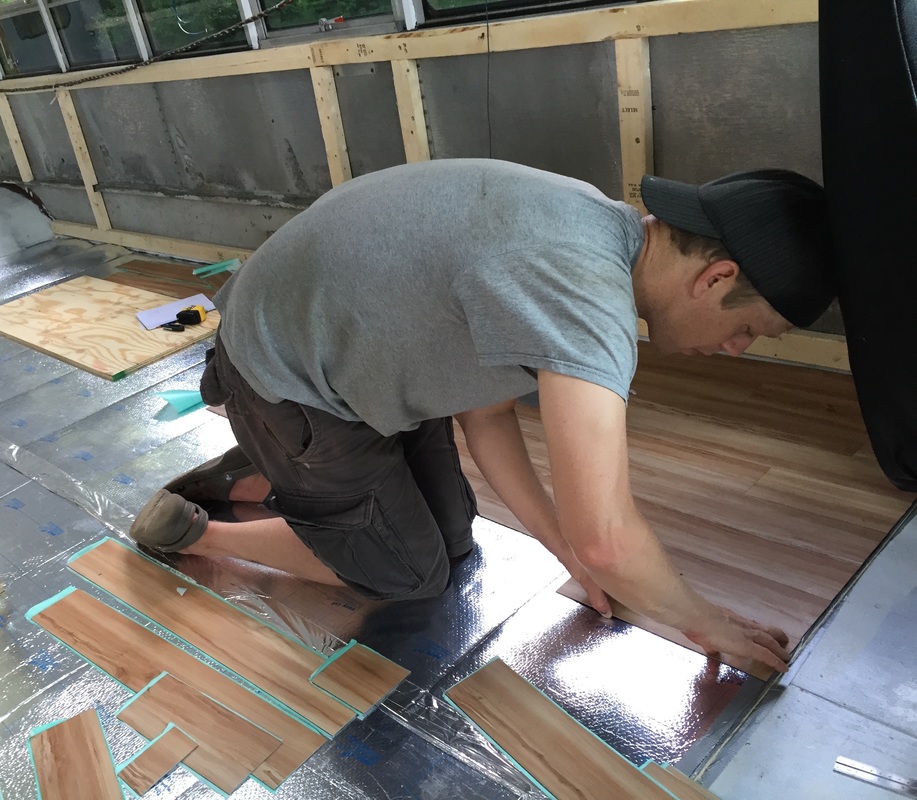
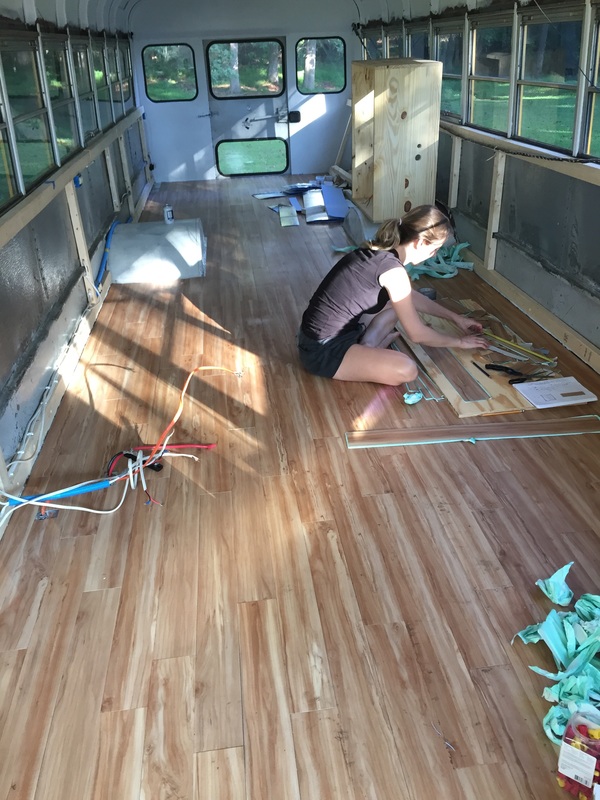
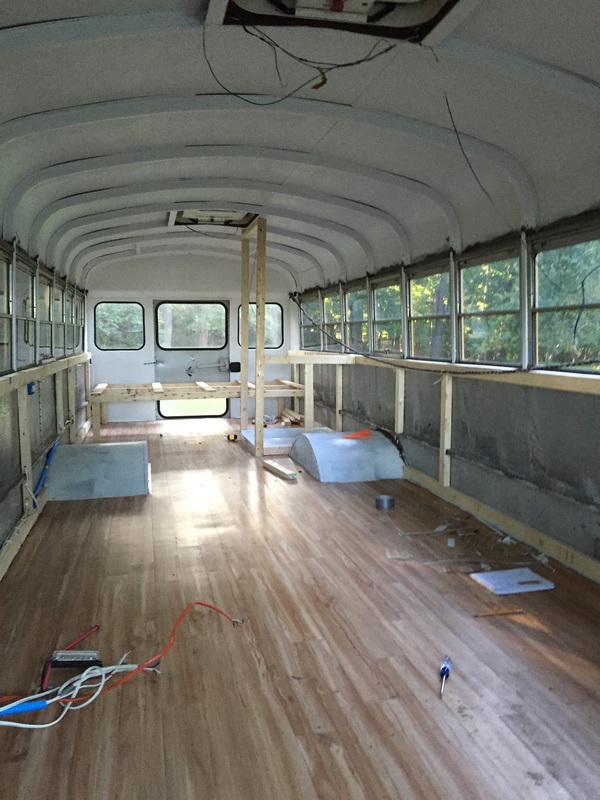
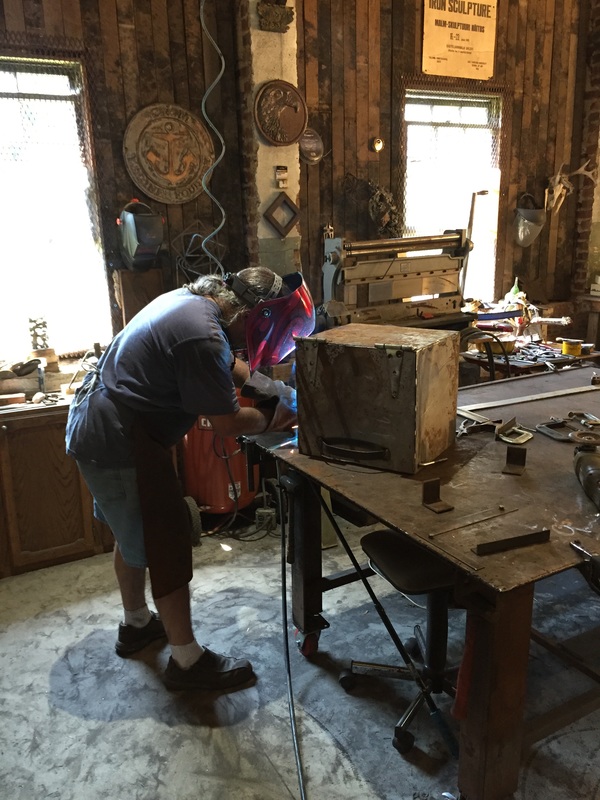
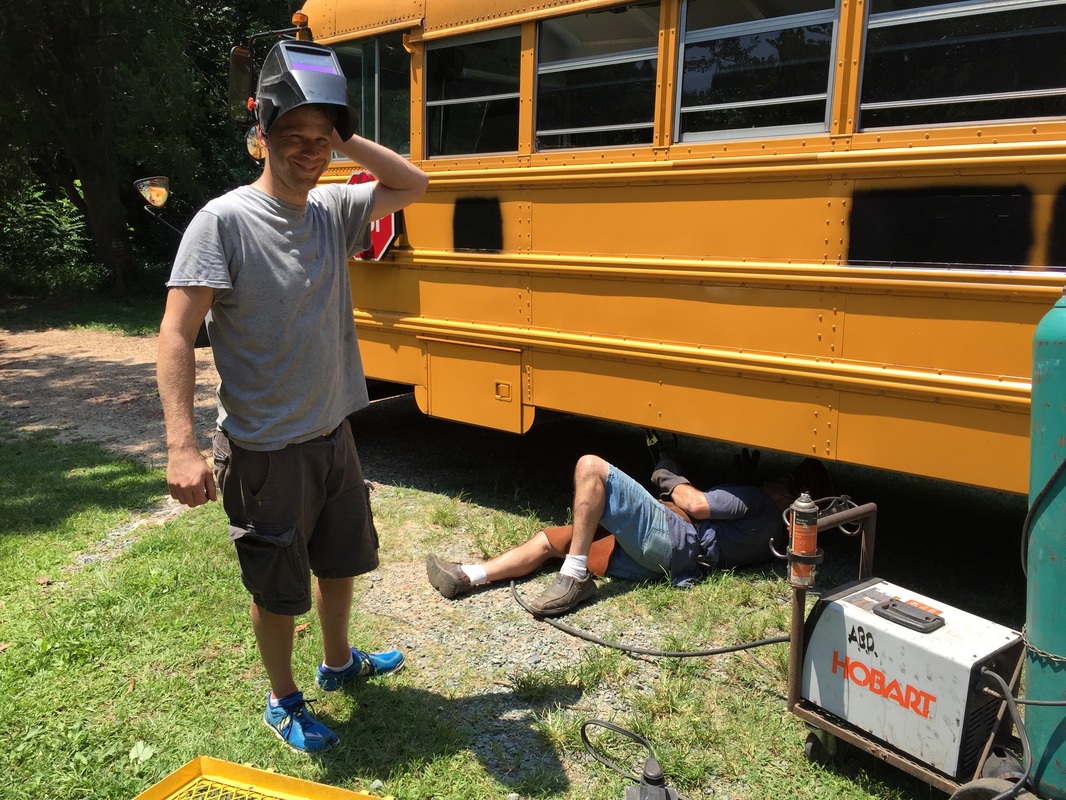
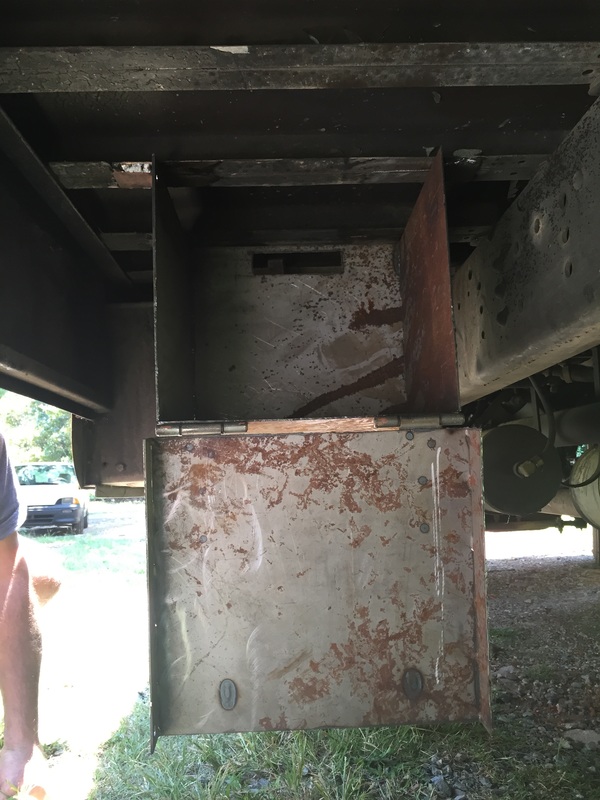
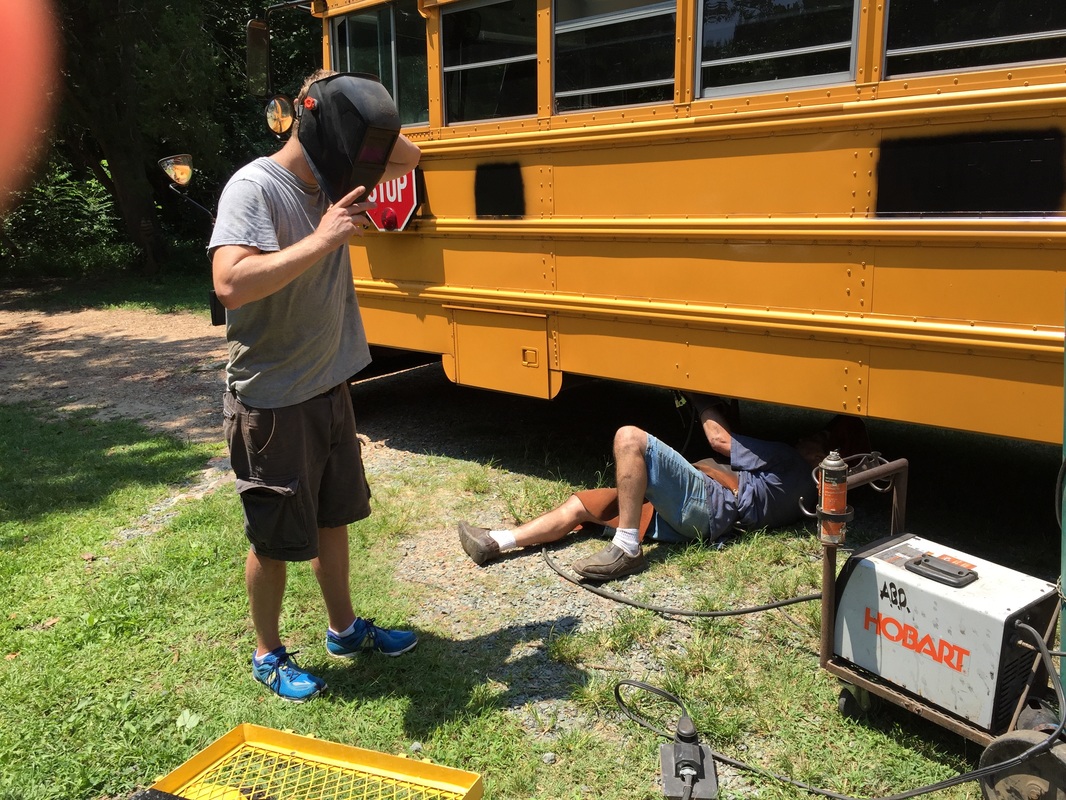
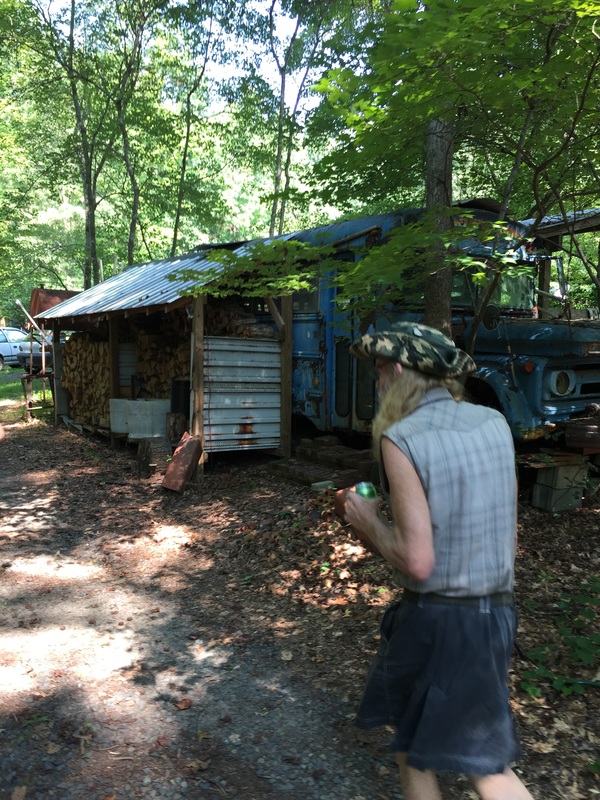
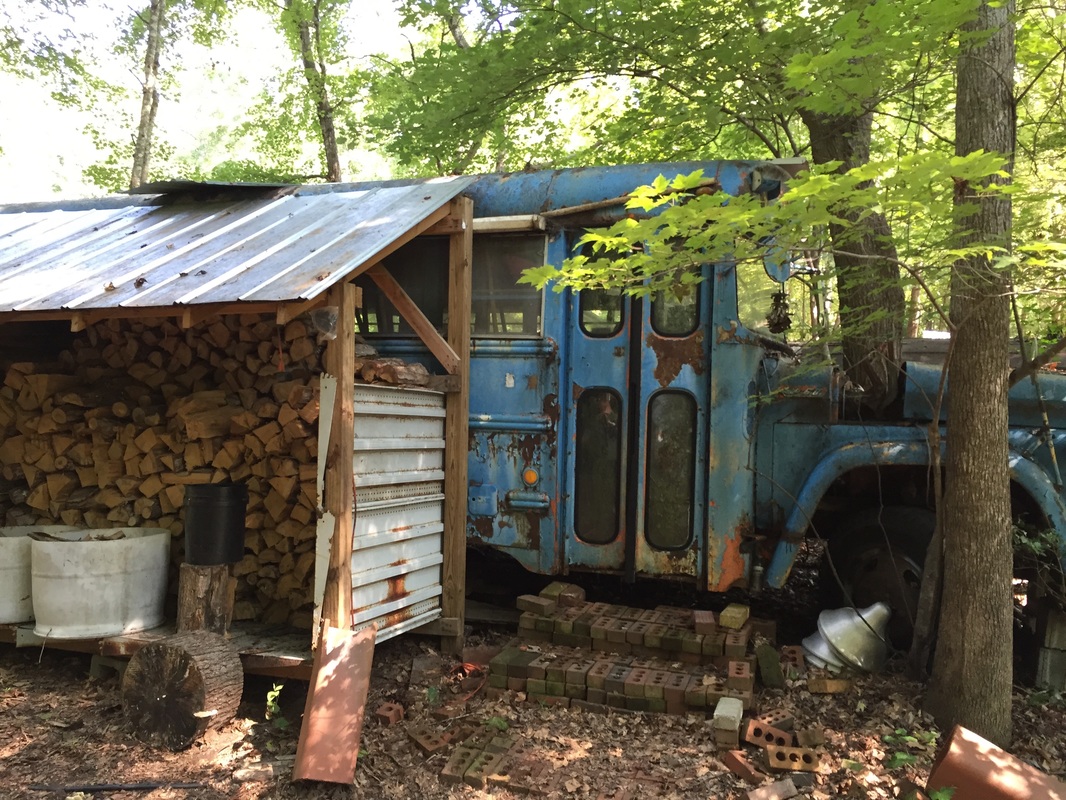
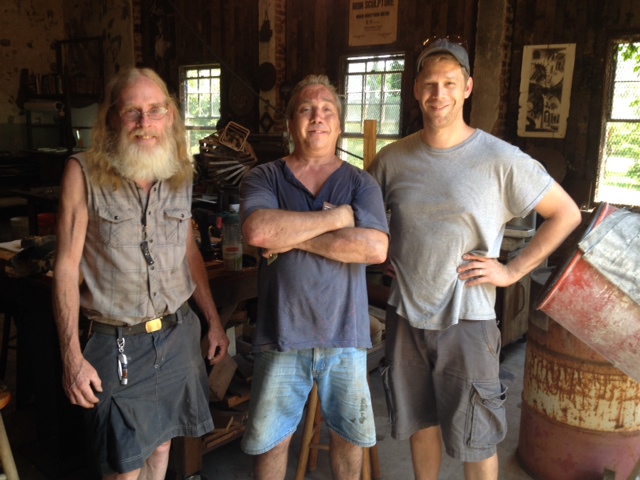
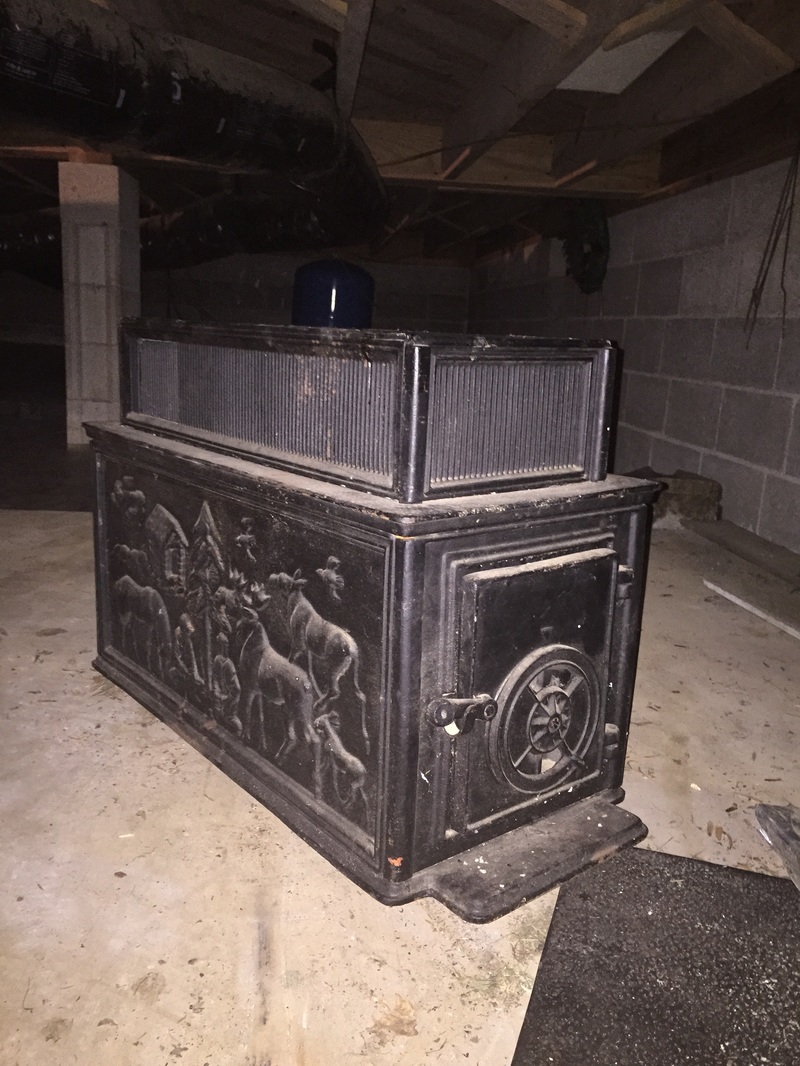
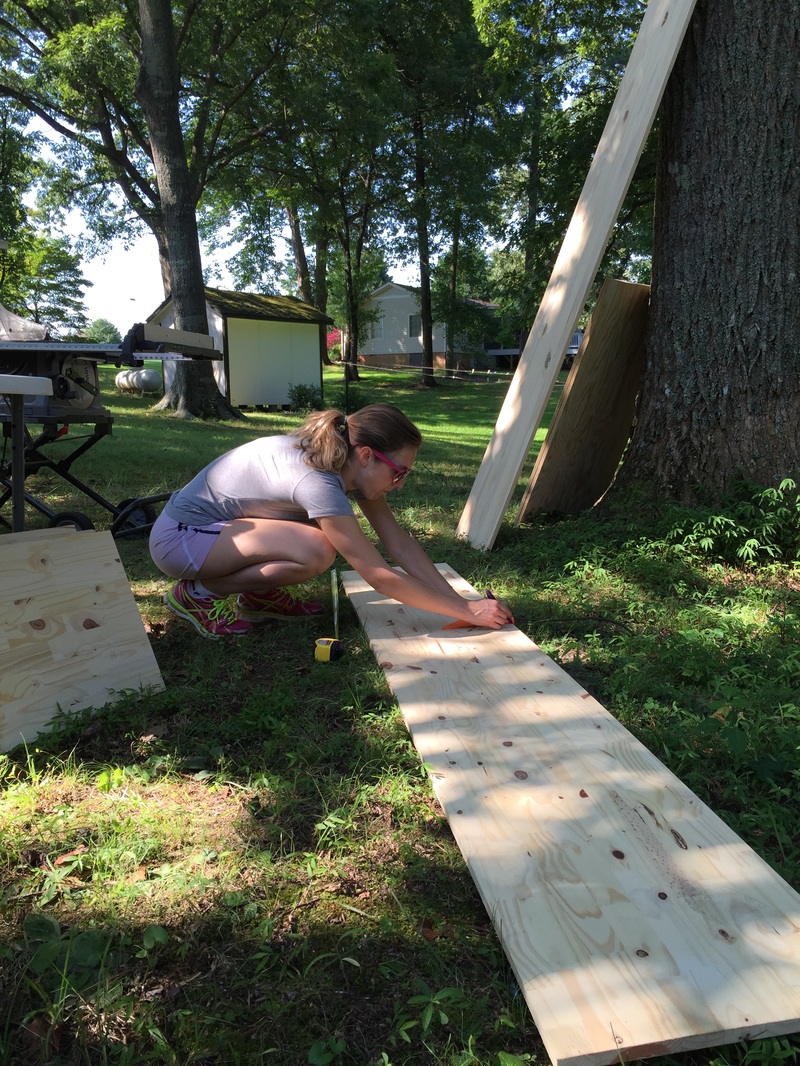
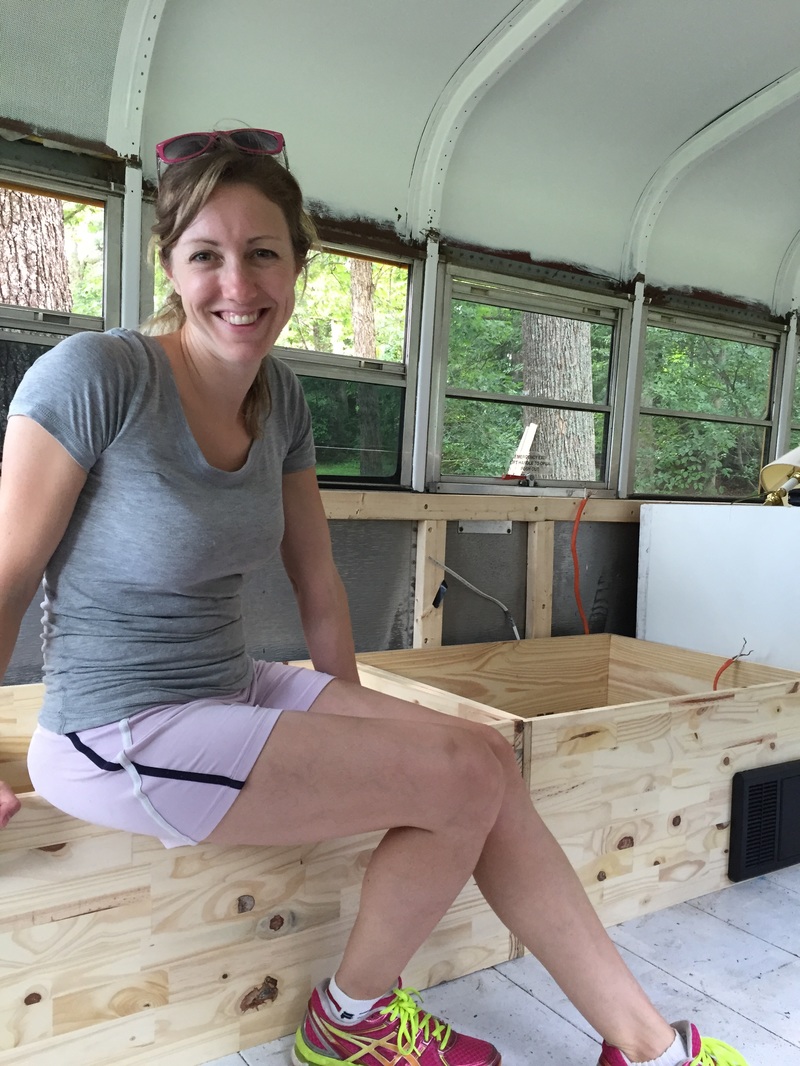
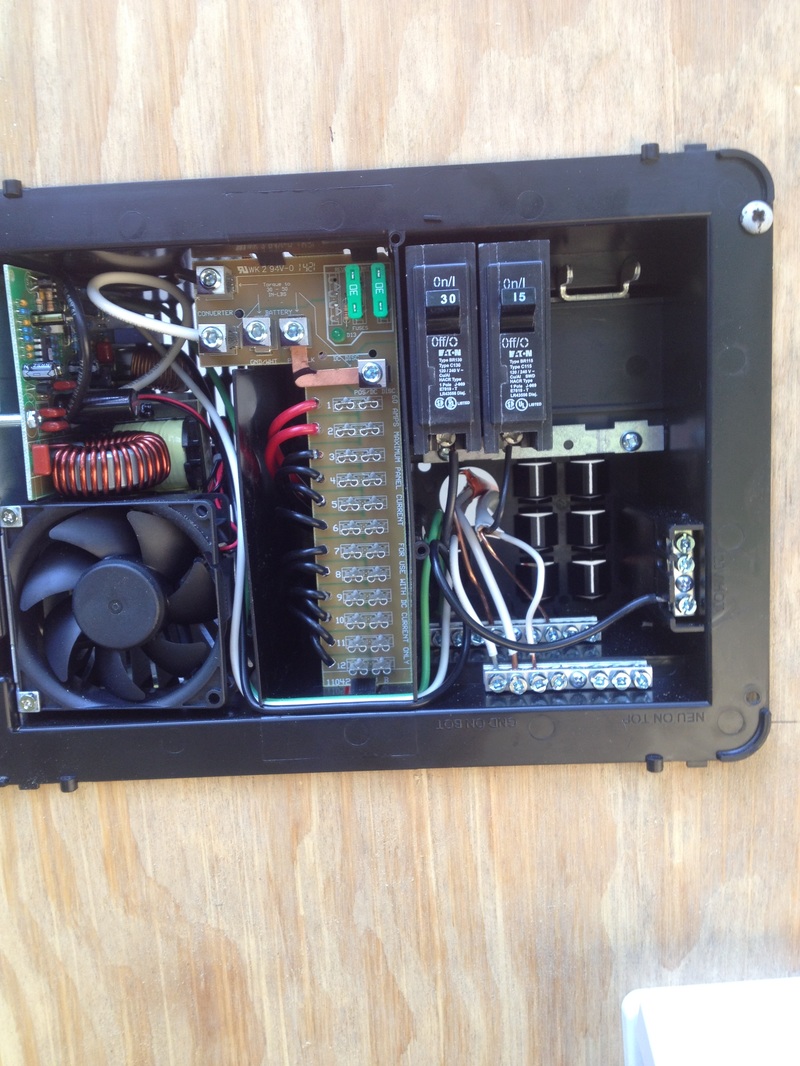
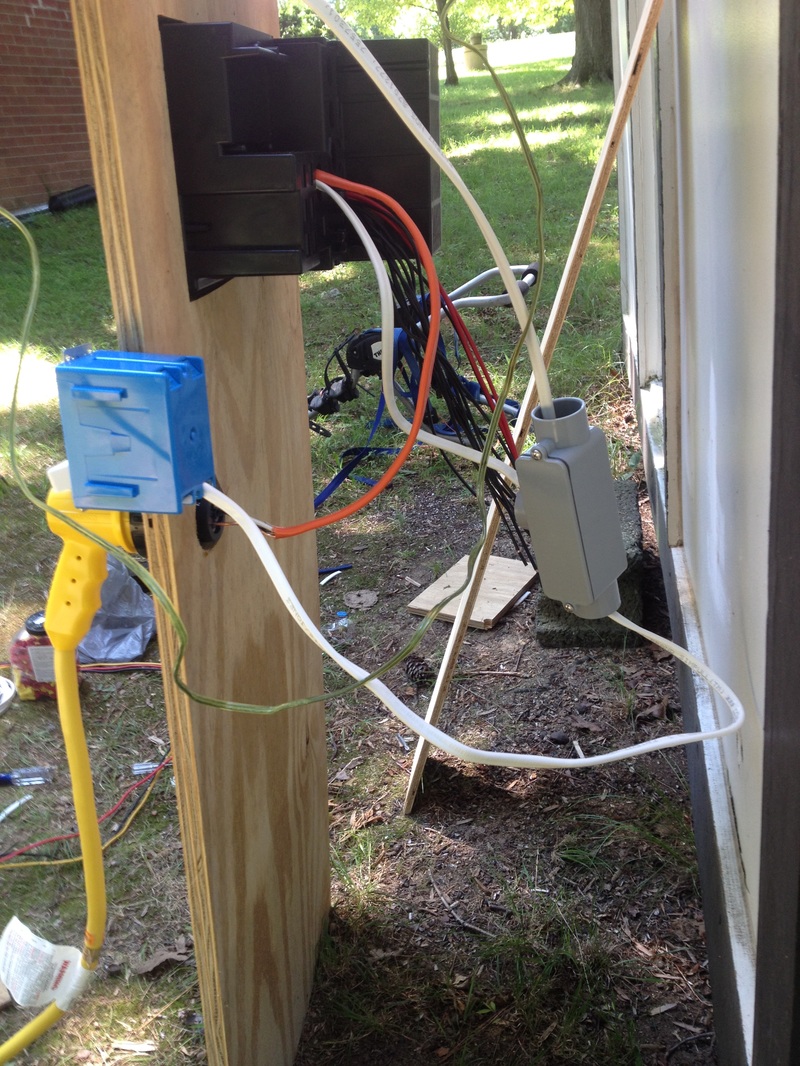
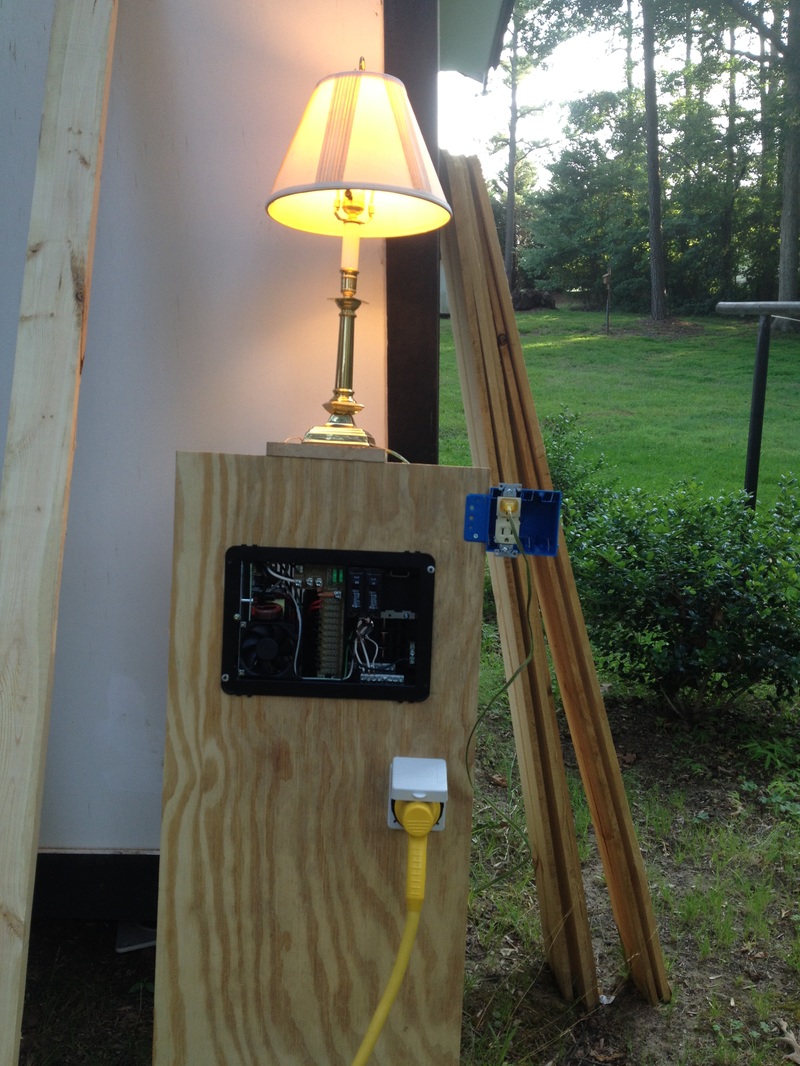
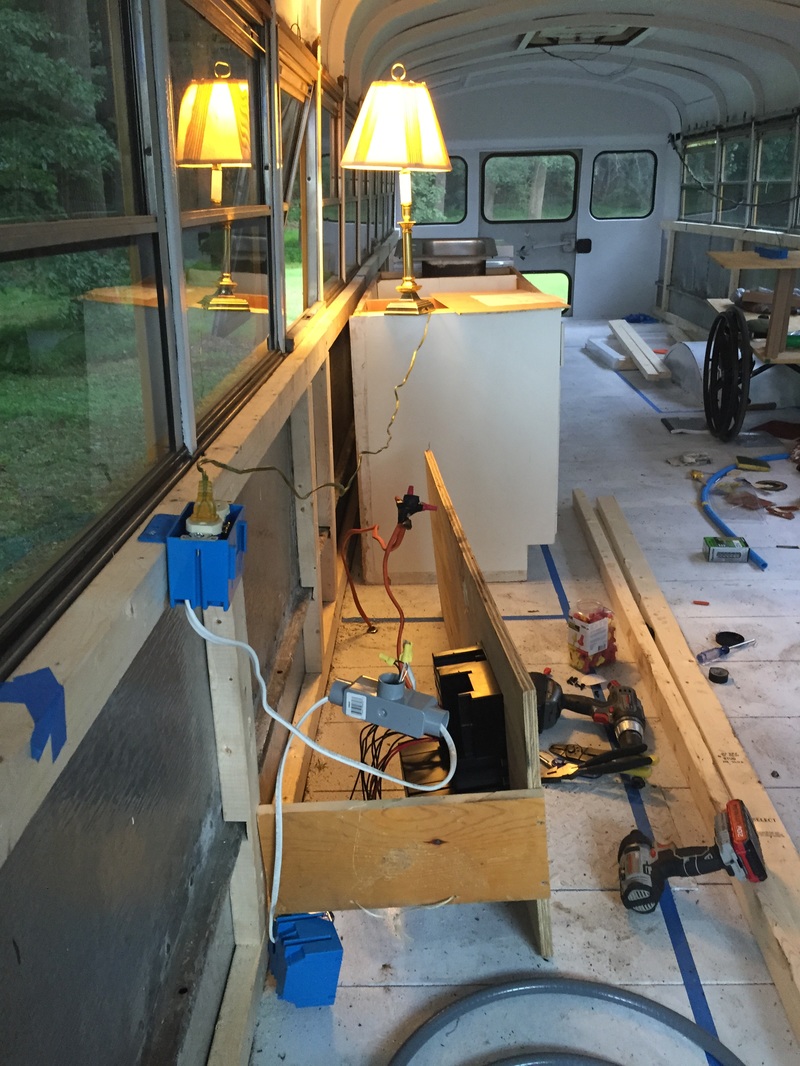
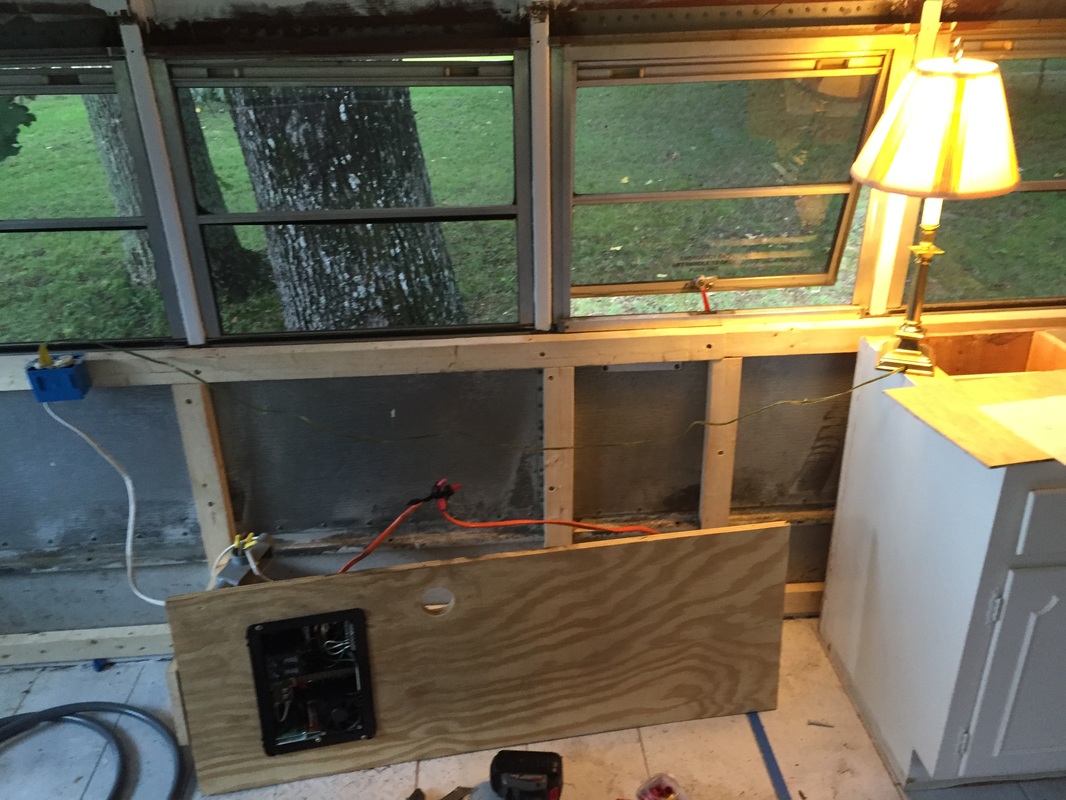
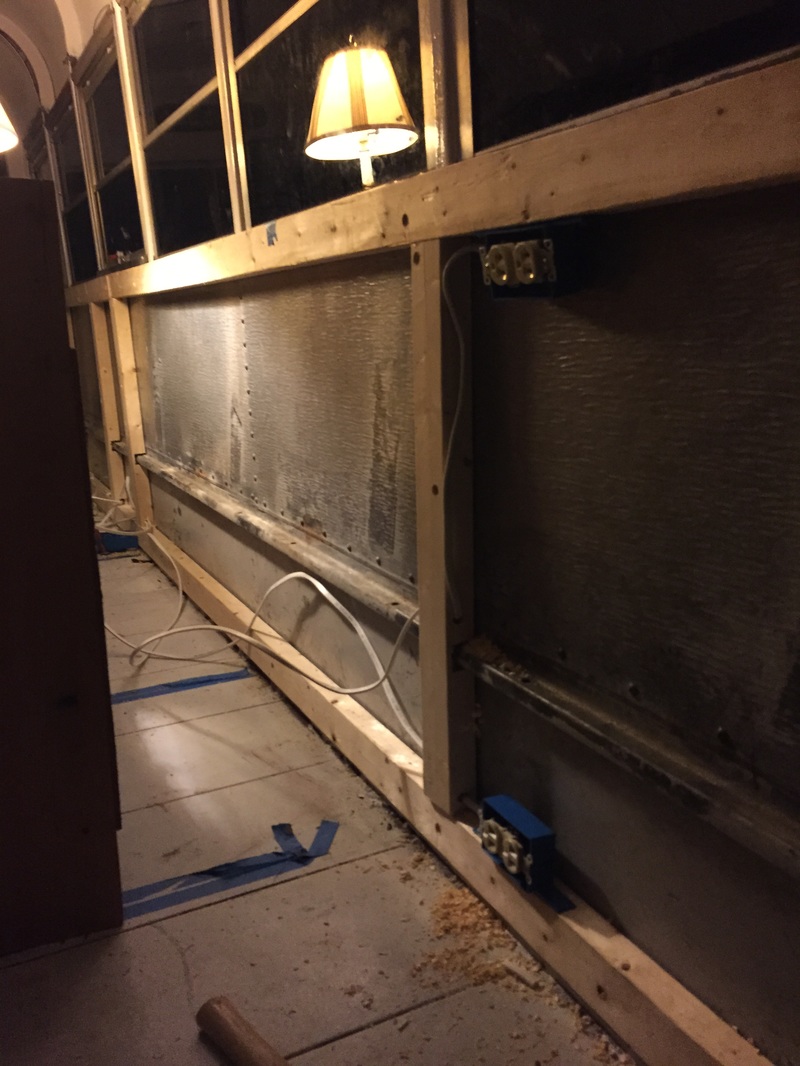
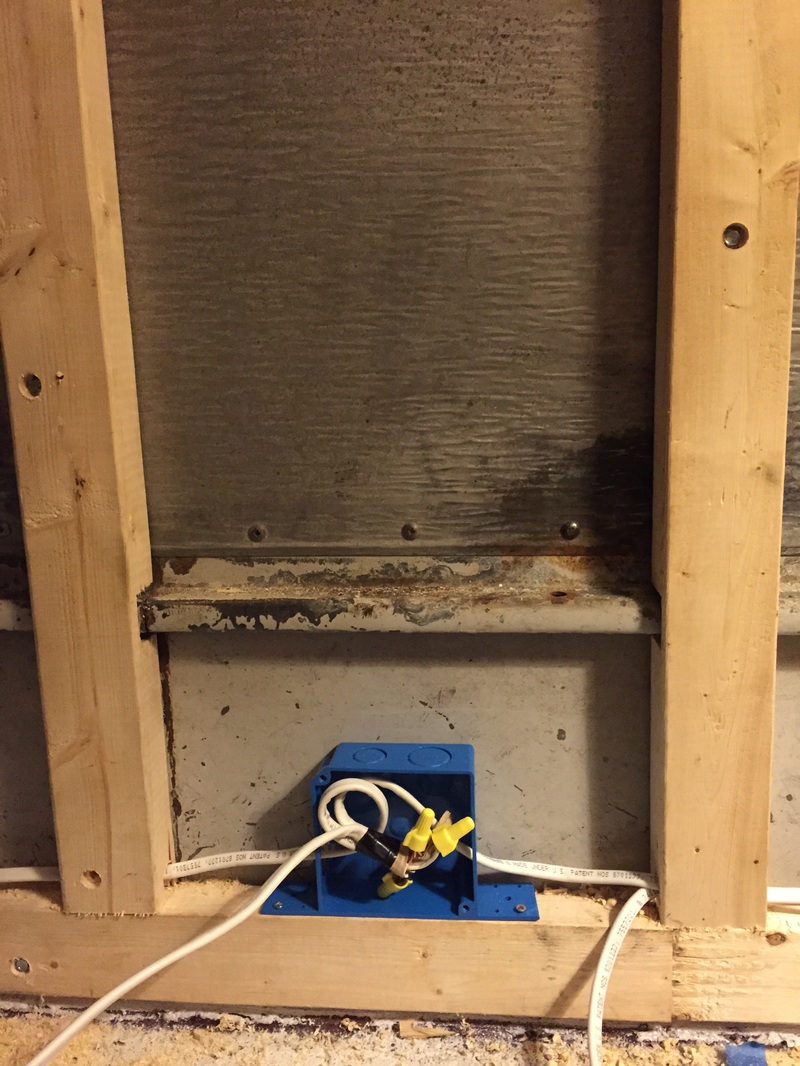
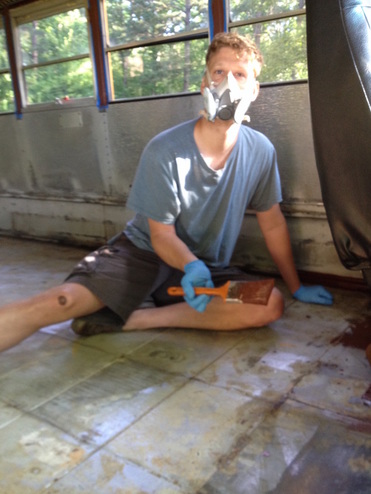
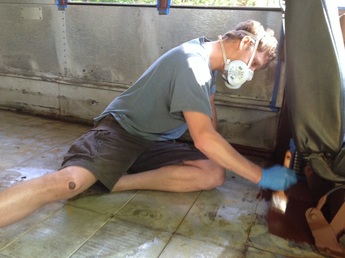
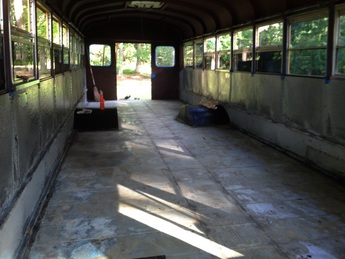
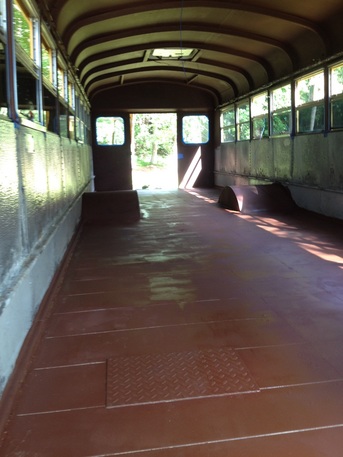
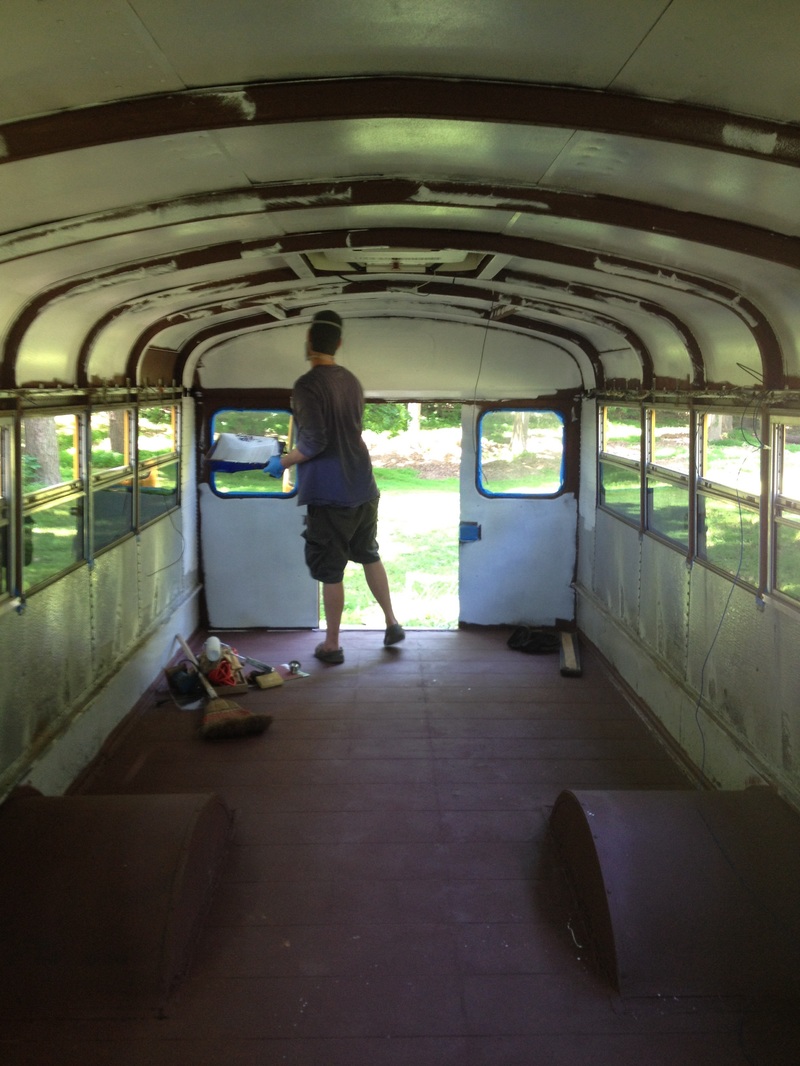
A shout out to the folks who've taken a turn at the wheel. If you know who let bozo drive, please enlighten us. ...But first, we had to frame the shower walls. Seemed like it should be an easy enough task, but alas... First off, like good do-it-yourselfers, we thought we'd use a level to ensure straight walls. Turns out the bus itself isn't level, so that idea went out one of 22 windows. Next, we were short on fixed structures to which we could attach the frame, as we couldn't very well drill into the roof (natural shower anyone?). These problems meant the possibility of having a wobbly, off-kilter shower...which is exactly what happened the first couple of attempts. Finally we used the emergency exit (soon to be skylight) steel frame as one fixed point, and the bus walls as the other, and with a little old fashioned math (yikes) we were able to finally get it right. We disconnected the electric, pulled out the sofa boxes and the kitchen cabinet, and Courtney gave everything a nice coat of clean white paint. We put hinges on the sofas, and I sort of built the bed (although we're going to have a new and improved version of the bed before long.) The floor was a trick. We've read a lot of other blogs and skoolie forums, and most people start their floor with a layer of 1/2 inch insulation board, followed by another 1/2 inch of plywood. Those people are not 6 ft. tall. As it (I) stands, the bead on my hat almost scrapes the ceiling in the center, so we wanted to sacrifice as little vertical space as possible while still having a floor that was more appealing than bare steal. We started with a 4 mm underlayment that provided a vapor barrier and a small amount of insulation. Took us about 2 hours to get this stuff down. For the floor, we went with vinyl planks (read: stickers). They're about 5 mm thick, and they look pretty fancy. Courtney did most of the work. There was a good deal of trial and error that involved Courtney ripping up most of the first day's (my) work and starting over. It took about 10 hours of hot, sticky labor to finish it, but the end result looks great. We have had a little trouble with some of the planks shifting during transit, but we're thinking (hoping) it'll stay put after we get some molding around the sides and the furniture moved back in. All-in-all, we're pretty pleased with how it turned out. Once we had the AC power worked out, it was time to tackle DC. We’re using 2 big-ass batteries: specifically, Vmax Charge Tank SLR 155 AGMs. I’ll spare you the technical details, but if anyone ever wants to talk batteries, hit me up (You know you want to). While these batteries hold quite a charge, they weigh in at about 100 lbs apiece. So the first challenge of the DC system was figuring out where to stash those bad boys. My ceramics teacher, Jennifer, put me in touch with a welder named Drew who works out of the Moncure Museum of Art. Courtney and I drove the bus down to Moncure on a Sunday morning, and Drew set to work building us a steel battery box, which he welded to the undercarriage. I provided in-the-way supervision. As we were getting started with the battery box project, Drew mentioned that he had a friend who’d lived in a bus for 13 years. About that time, a geo metro whips into the driveway and out steps Odie. Odie told us he’d been a traveling tree planter (presumably this was during the 60s and 70s), and had converted 2 busses into homes-on-the-road. For 13 years, he traveled around the country, living in his bus and planting trees. Naturally, he was interested in our project and full of ideas. He mentioned that he still had his old busses on his land, along with some RV parts and a wood stove or two. “Ok, we bite,” we said. We followed him over to his property, which was packed with school busses, a hand-built cabin, a pile of Geo Metros and Datsuns “for racing,” an RV that was "left after the cops broke up the music festival we had,” a defunct bar, a wood shop, metal shop, and a workshop where he builds colloidal silver generators. Suffice it to say, Odie’s an interesting fellow. He sold us a hefty wood stove (see below) that will probably turn our whole metal bus a glowing red. He also offered us a free spot on his “Bus Ranch,” should we ever be looking for a place to settle down. Courtney wanted to throw in a kitten picture. They were hanging out behind the museum. We tried to adopt one, but our landlord, in her infinite wisdom, promptly squashed that idea.  After our adventure in Moncure, I installed the batteries in the new box and hooked them up to the charger/converter. I also installed a digital battery monitor and a couple of d/c outlets to ensure the system worked, and whadya know…my little iPhone lit right up. On the marital front, I learned that saying “If I start flopping around, knock me off of the power source and call 911” is not something you should say to your wife. Even in jest. Ever. Learning curve. 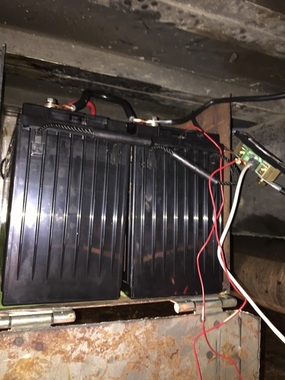 Today we built two boxes that will connect to form a 6 ft sofa. The first section will be moveable so that it can double as a table or chair. The other section will house the electrical system. Courtney and her mom are going to sew cushions at some point. Took most of the day; lets just say we discovered the wisdom in the ole "measure twice, cut once" aphorism. The electric has been the most, oh, what's the word--dangerous--undertaking so far. I’ll admit, I was intimidated from the start. We’re trying to incorporate AC/DC wiring, and the extent of my previous electrical experience was trying to fix an iPod with superglue a few years back. After 2-3 months of research, we’ve gathered most of the components, and we're starting the trial phases of the installation. Trial one: We’re using the Progressive Dynamics 4045 charger/converter ac/dc as our “motherboard.” This arrived with scant instructions; perhaps they would have made sense to an actual electrician? After scouring the internet, I decided to do an initial trial phase of the AC side in the back yard. Trial 2: AC in the bus: Success in the yard. Now to try this on an all metal, very conductive bus. Courtney had her iPhone handy for filming and calling EMS, in case the experience proved jolting. Everything went smoothly, and after successfully not electrocuting myself, I beat my chest and ate ribs as a reward for taming the electric beast (potential for pride and fall syndrome acknowledged). Note: Don't hate on the exposed wires, etc: this is just a test. Now to run a few wires and outlets: Once the paint fumes cleared, it was time to frame the walls. After a bit of trial and error, we settled on running 2x4s horizontally along the base of the wall and underneath the windows. Then we cut vertical support beams, which we notched to fit around the steal beams that the seats were attached to. We used 2" self-tapping metal screw to attach the studs to the walls. Incidentally, "self-tapping" metal screws work a whole lot better if you drill a pilot hole. 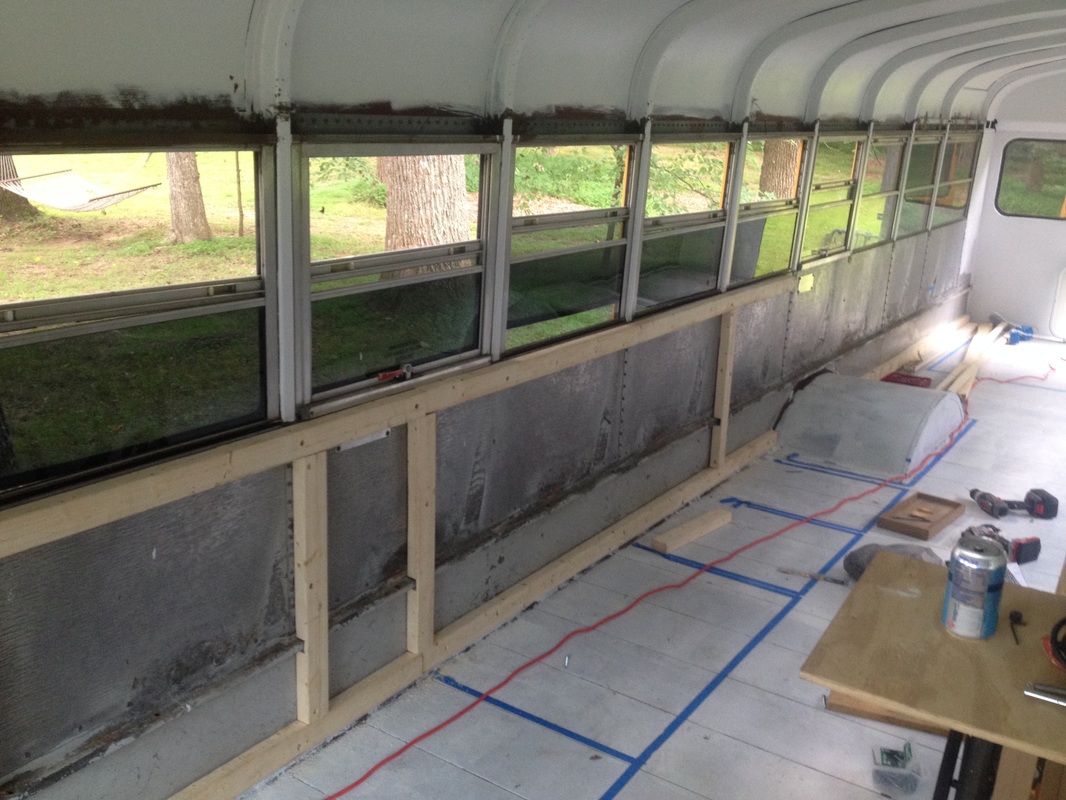 We also started cutting the framing the shower. We're using a Dreamline 32" x 32" shower base. 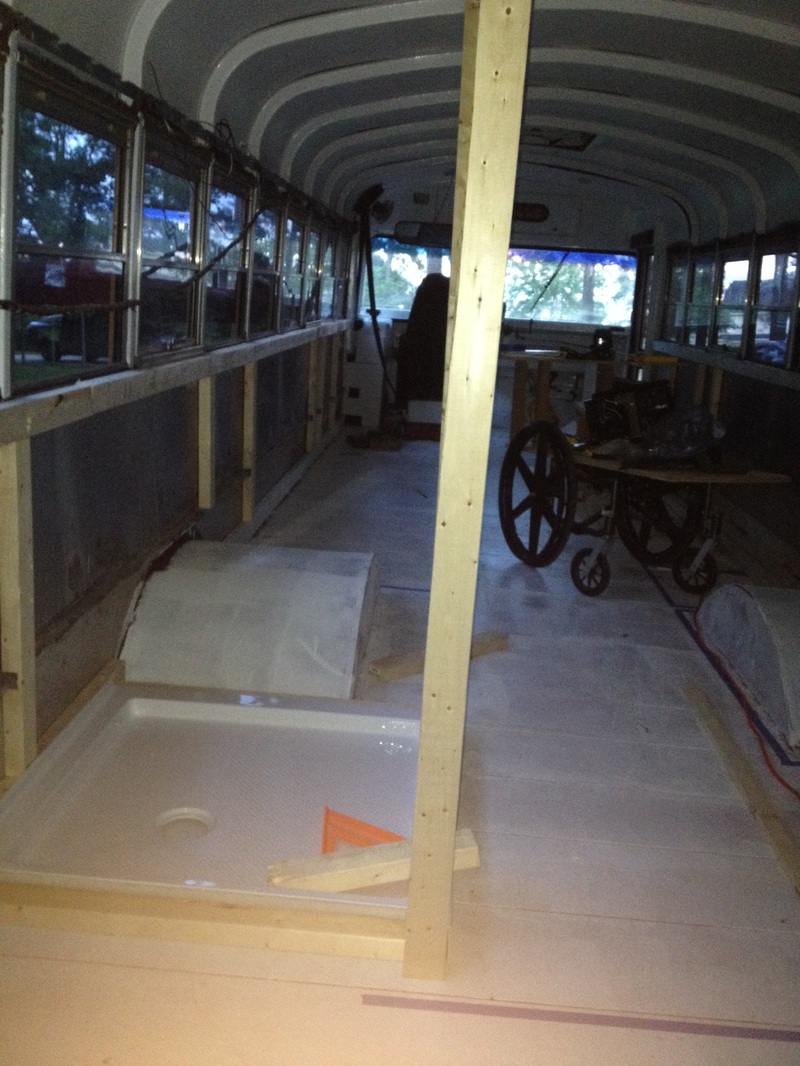 We caulked the holes in the floor, sanded a few rusty spots, and coated the floor and ceiling with Rustoleum primer. Then we painted white inside the entire bus. The insulating paint came from HY-TECH, a NASA researching partner. Unclear about what that really means. ;) But another bus conversion team used it with success, so we will try it. We used the additive for the interior ceiling with a regular white oil based paint and will use their insulating roof paint for the exterior. Also, I wanted to lighten it up and get rid of all the grime, so we painted the dash and interior front panels. It's a whole new bus!
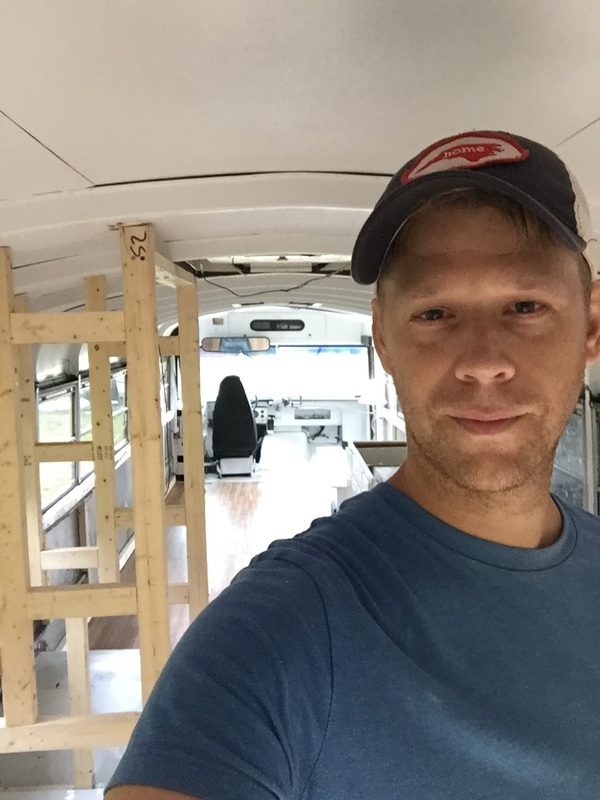
 WE ARE READY FOR CONSTRUCTION! 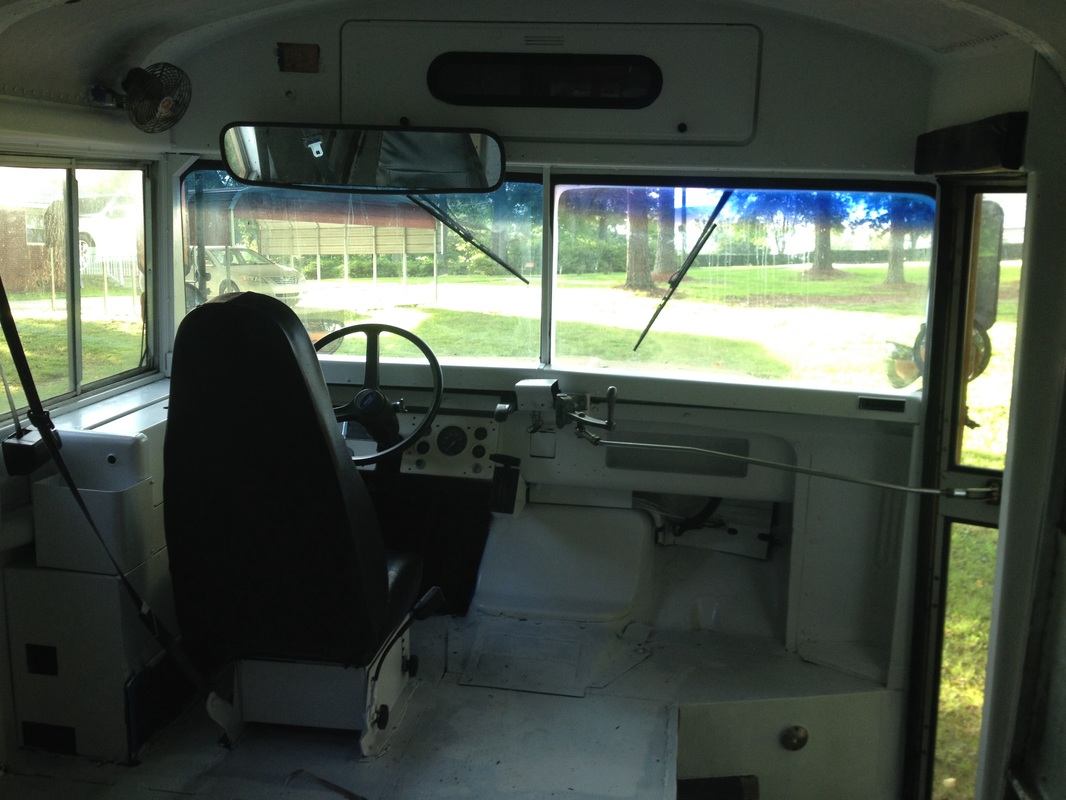 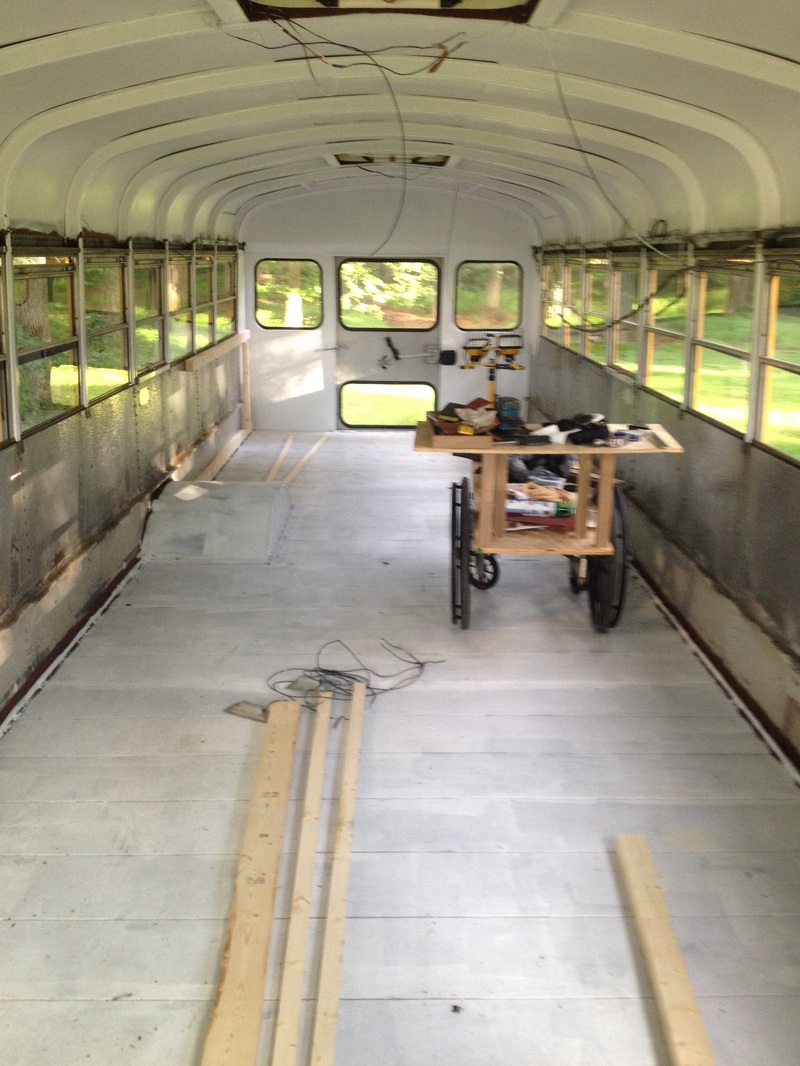 We put the insulating paint on the floor, too. Altogether, it took 2 gallons with insulating beads to do 2 coats on the ceiling and one coat on the floor. It took another 1/2 gallon of regular white to do the front. The front two ceiling panels would just not come out. We left them and painted over them, giving it a nice cabin feel up front. The exposed beams, well, we will play around with how to incorporate them into the design.
|
Archives
November 2016
AuthorsBen and Courtney MacDonald - We married in September 2014 and just do our best to live life in gratitude every day. As Ram Dass writes, "We're all just walking each other home." We enjoy figuring out where home is. Categories |


 RSS Feed
